How to Get Rid of Builders Dust: Plaster, Brick and Silica Dust After Building Work
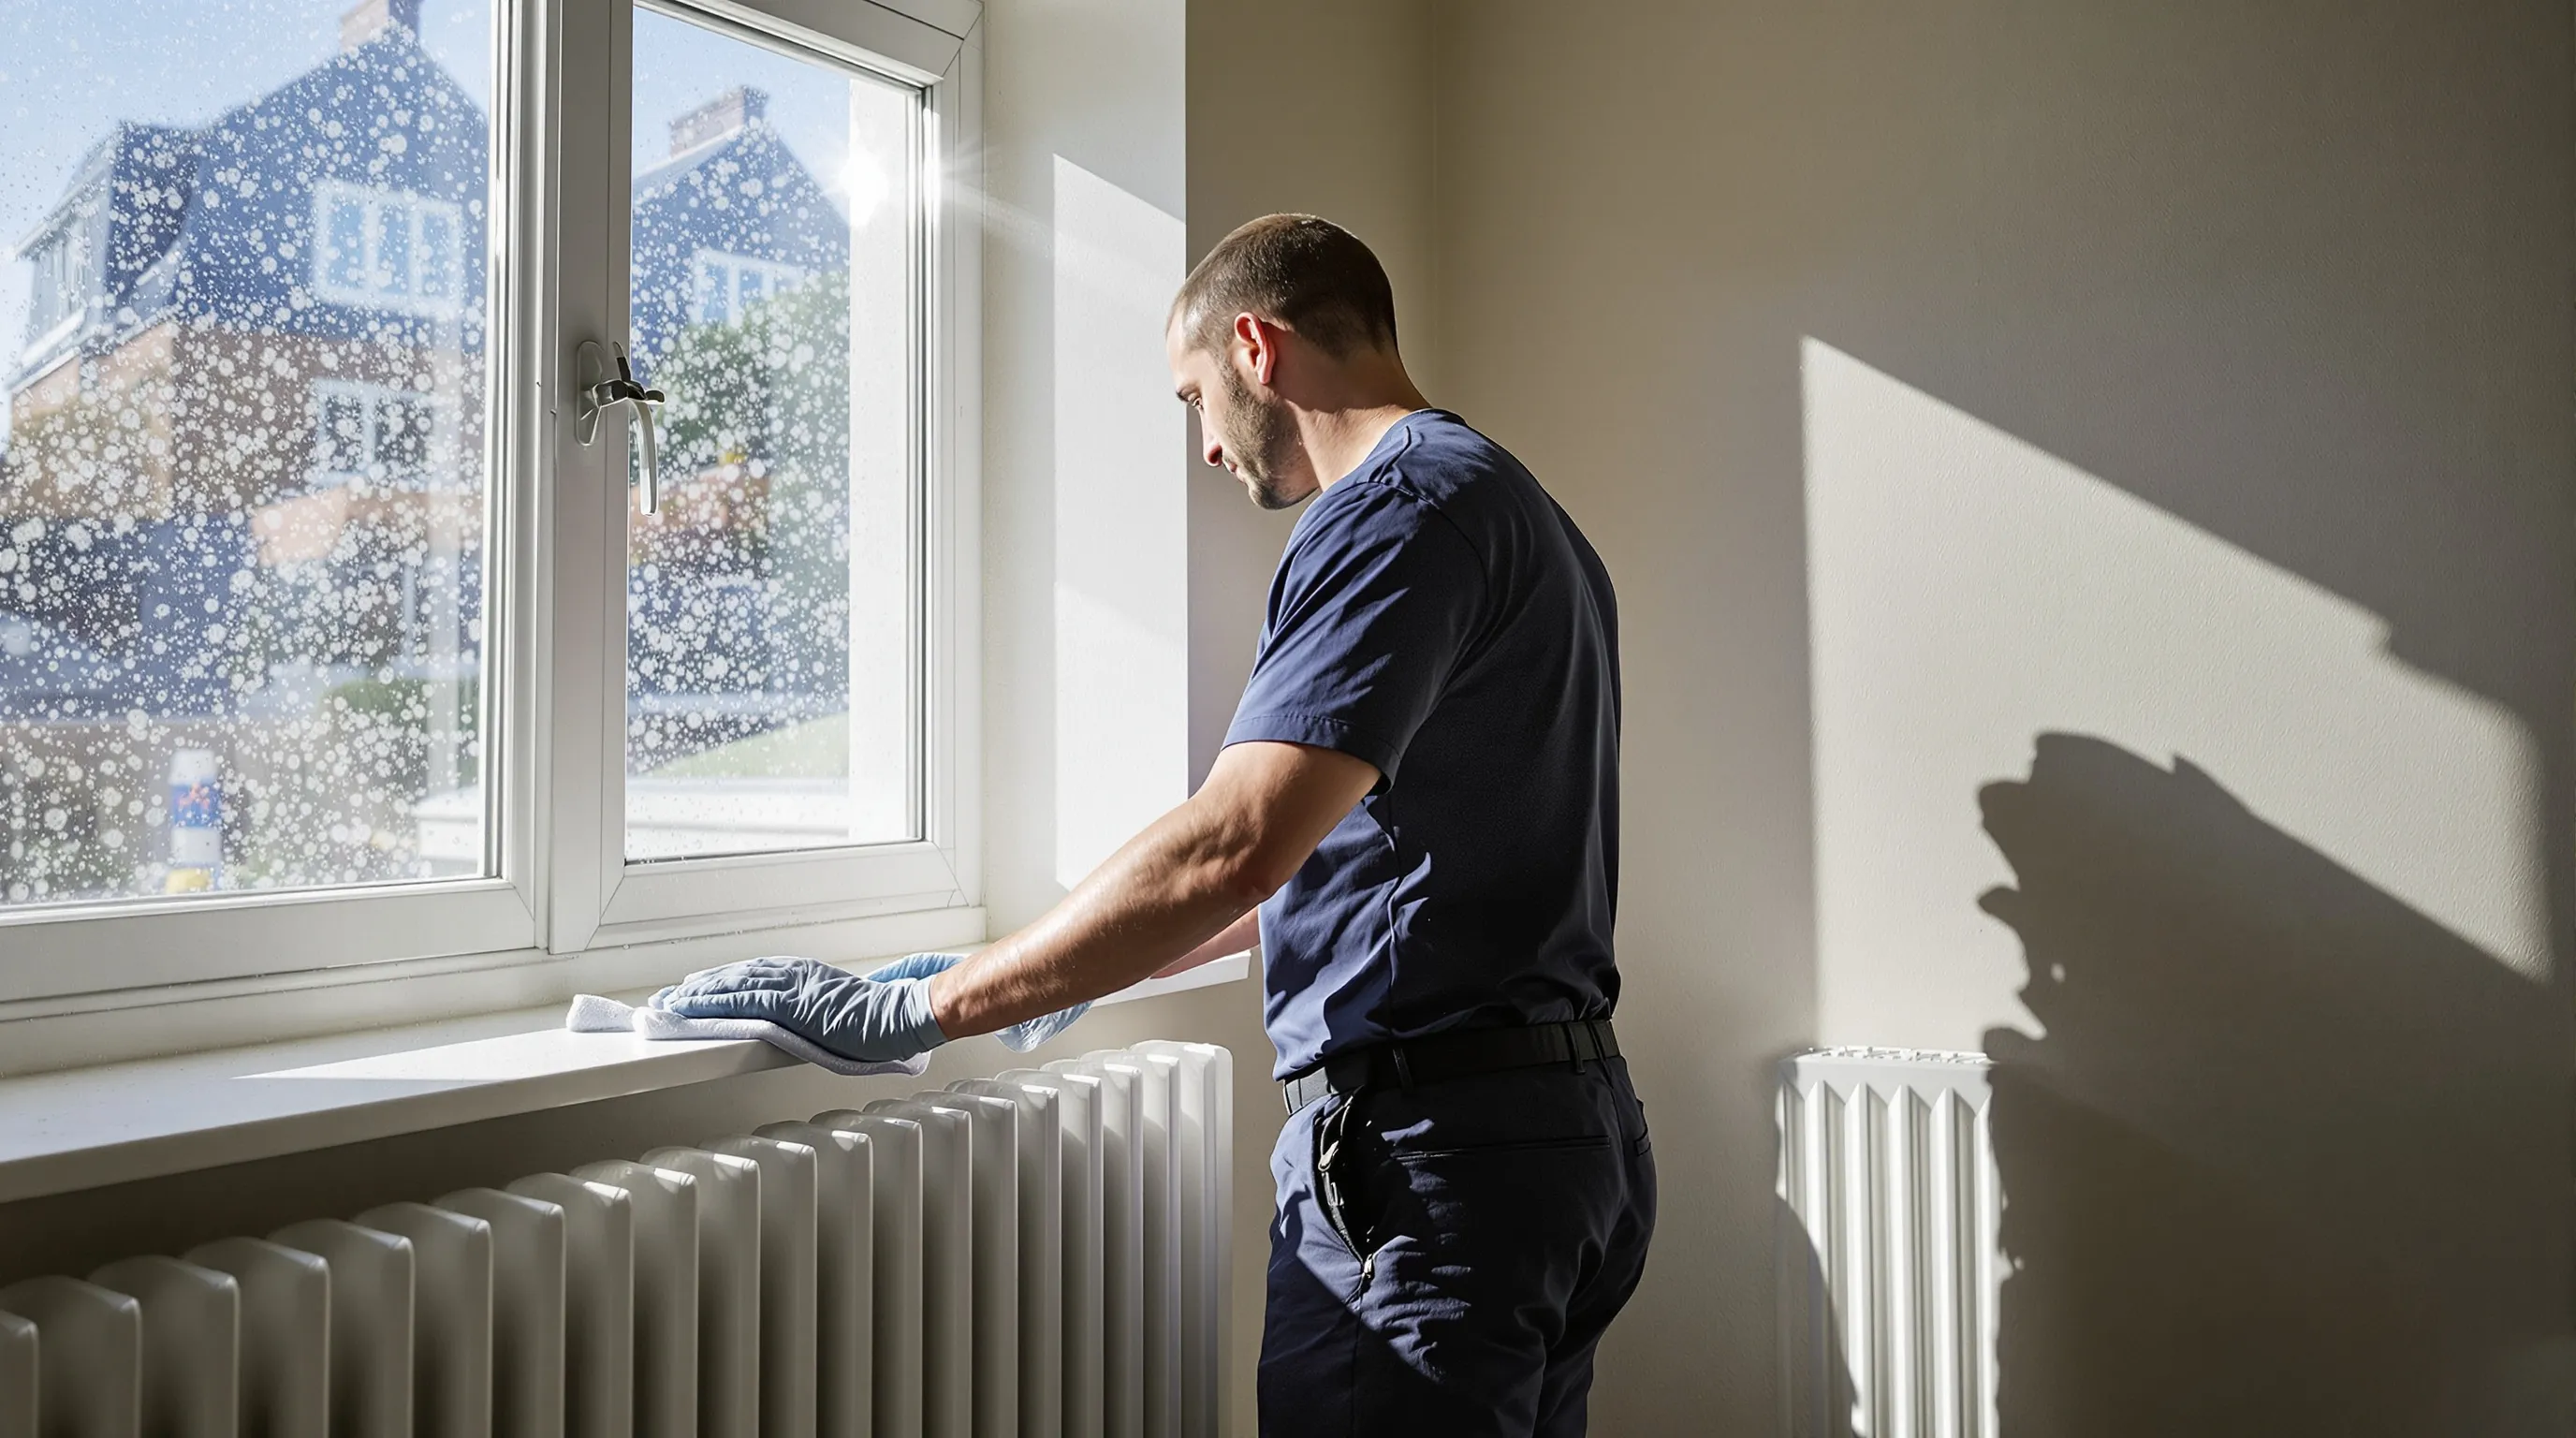
Builders dust comes back because you have not removed it, you have moved it. Fine plaster and masonry dust sits in radiator fins, extractor ducts, carpet pile and the gaps between floorboards, and every time the heating comes on or a door slams, a little more of it lifts into the air and settles again.
Getting rid of it for good means working in the right order, with the right kit, and accepting that it takes three passes over about a fortnight rather than one heroic Saturday.
We do after builders cleaning across London every day of the week, and the method below is the one we use. It works just as well if you are doing it yourself, as long as you do not skip the boring bits.
Table of Contents
- Why Builders Dust Keeps Coming Back
- The Three Kinds of Builders Dust
- The Kit You Need (and What Not to Use)
- The Order That Works
- Getting Dust Out of the Air
- Mistakes That Make It Worse
- Is Builders Dust Bad for You?
- When to Stop and Call Someone
- FAQs
Why Builders Dust Keeps Coming Back
The bulk of airborne dust settles within 24 to 48 hours of the last dusty trade finishing. The dust that keeps reappearing after that is coming out of storage.
Every house has reservoirs that a normal clean never touches. After a renovation they are full.
- Radiators. The fins on a panel radiator hold a surprising amount of dust. Turn the heating on and the convection current carries it straight up the wall.
- Extractor fans and ducting. Bathroom and kitchen extractors pull dust into the duct during the works and push it back out for weeks.
- Carpet pile and underlay. If carpet was down during plastering or sanding, the dust is in the pile, not on it. Each footstep lifts a little.
- Floorboard gaps and under skirtings. Dust falls into the gaps and comes back up with draughts.
- Loft insulation. A loft conversion or new ceiling leaves dust in the insulation, and it drifts down through downlights and hatches.
- Curtain tracks, pelmets and the tops of wardrobes. High, flat, and never looked at.
- Inside sockets and switch plates. Plaster dust gets behind the plate and puffs out when you press the switch.
The lesson is simple. If you only clean the surfaces you can see, the house will look clean for a day and then grey over again. The order below is designed to empty the reservoirs, not just wipe the worktops.
The Three Kinds of Builders Dust
Not all construction dust behaves the same way, and the wrong method on the wrong dust is how people damage new floors and glass.
| Dust type | Where it comes from | How it behaves | What works |
|---|---|---|---|
| Plaster and gypsum | Skimming, plasterboard cutting, sanding filler | Very fine, pale, mildly alkaline. Turns to a smearing paste the moment it gets wet. | Dry vacuum first, every time. Then a barely damp microfibre cloth, rinsed constantly. Never mop it before vacuuming. |
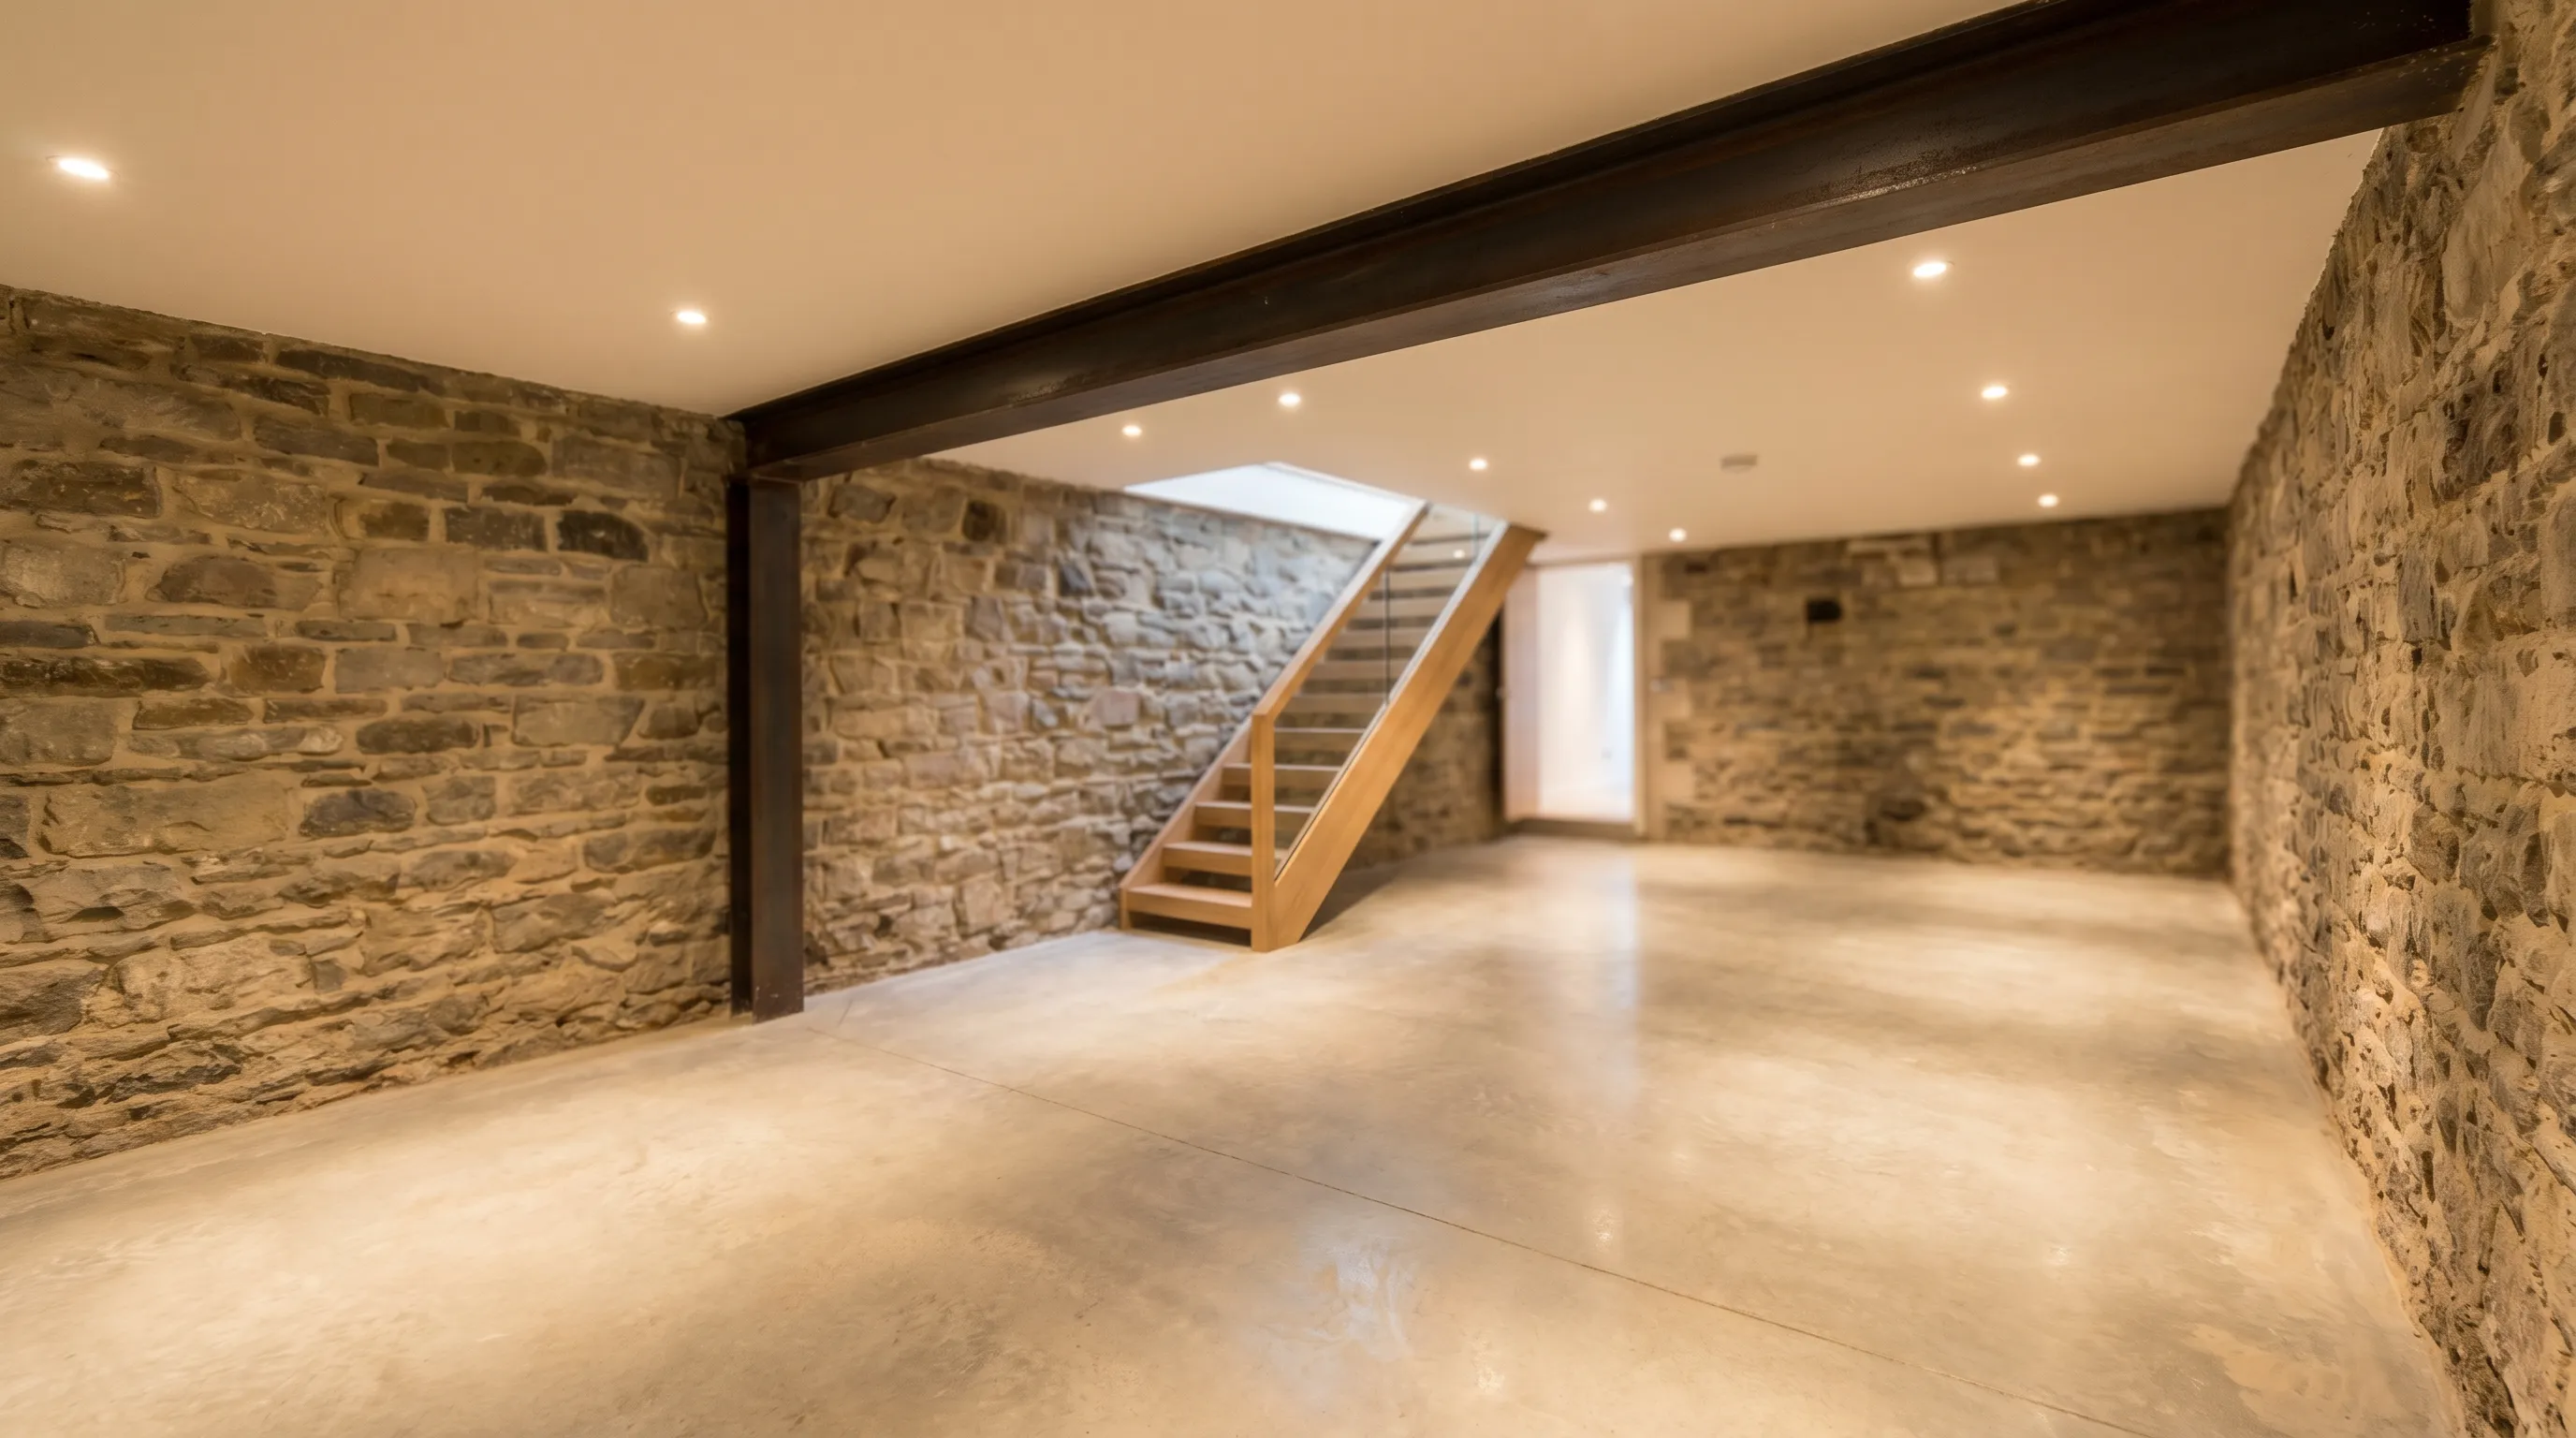
| Brick, mortar, concrete and tile | Chasing walls, cutting bricks and tiles, breaking out floors, basement digs | Gritty and abrasive, and contains respirable silica. Scratches glass, stone and worktops if dragged across them. | HEPA vacuum only. No dry sweeping. Lift it, do not wipe it. No acidic products on limestone or marble when removing cement residue. |
| Wood and MDF | Joinery, flooring, skirting, kitchen fitting | Static, clings to vertical surfaces and fresh paint. Hardwood and MDF dust are both classed as harmful to breathe. | Vacuum with a soft brush head, then a tack cloth on anything about to be painted. Microfibre, not feather dusters. |
Most renovations produce all three, usually in that order, so the room you are cleaning has layers. Treat it as masonry dust until you are sure it is not, and you will not scratch anything.
The Kit You Need (and What Not to Use)
You do not need much, but the vacuum is non-negotiable.
Use:
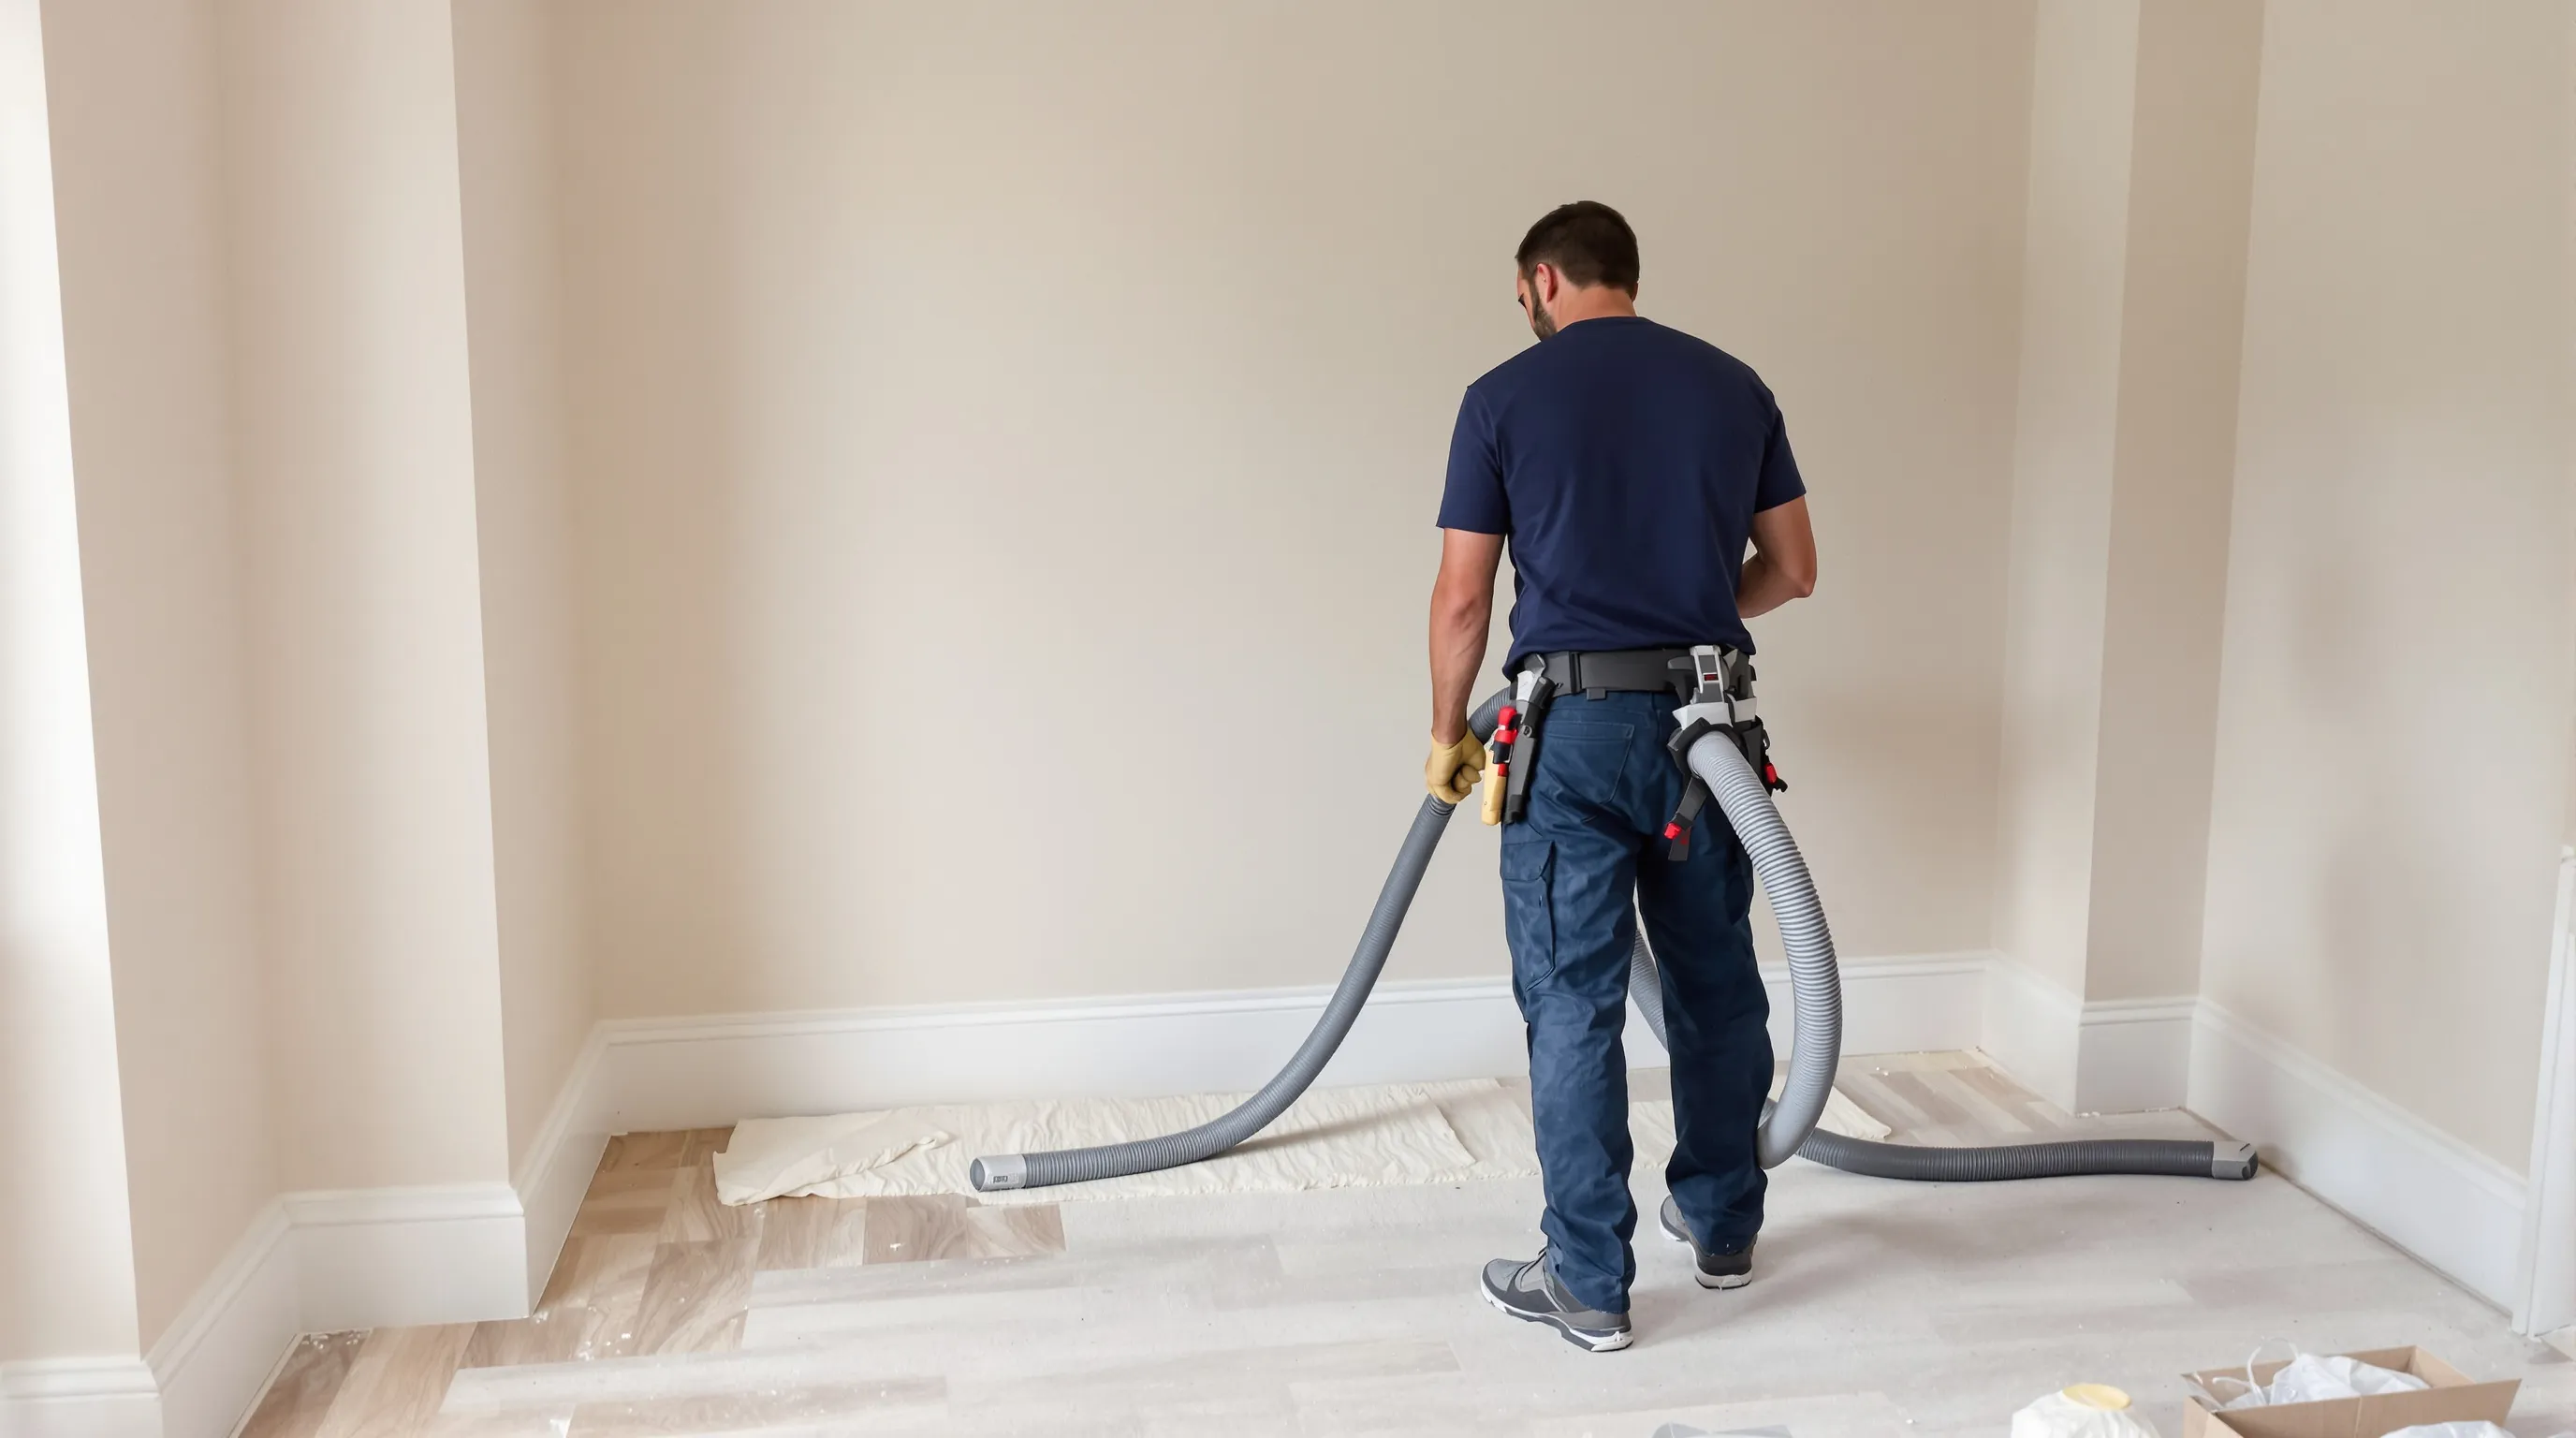
- A HEPA-filtered vacuum, ideally a hired M-class or H-class construction vacuum, which is what the HSE expects on site for silica dust. A hired one costs about £30 to £40 a day. If you must use a domestic machine, use a cheap wet and dry "shop vac" with a fine dust bag, not your main vacuum.
- An FFP3 mask. Not a paper dust mask and not a surgical mask.
- Twenty or more microfibre cloths. You will go through them fast because they load up with dust and start smearing.
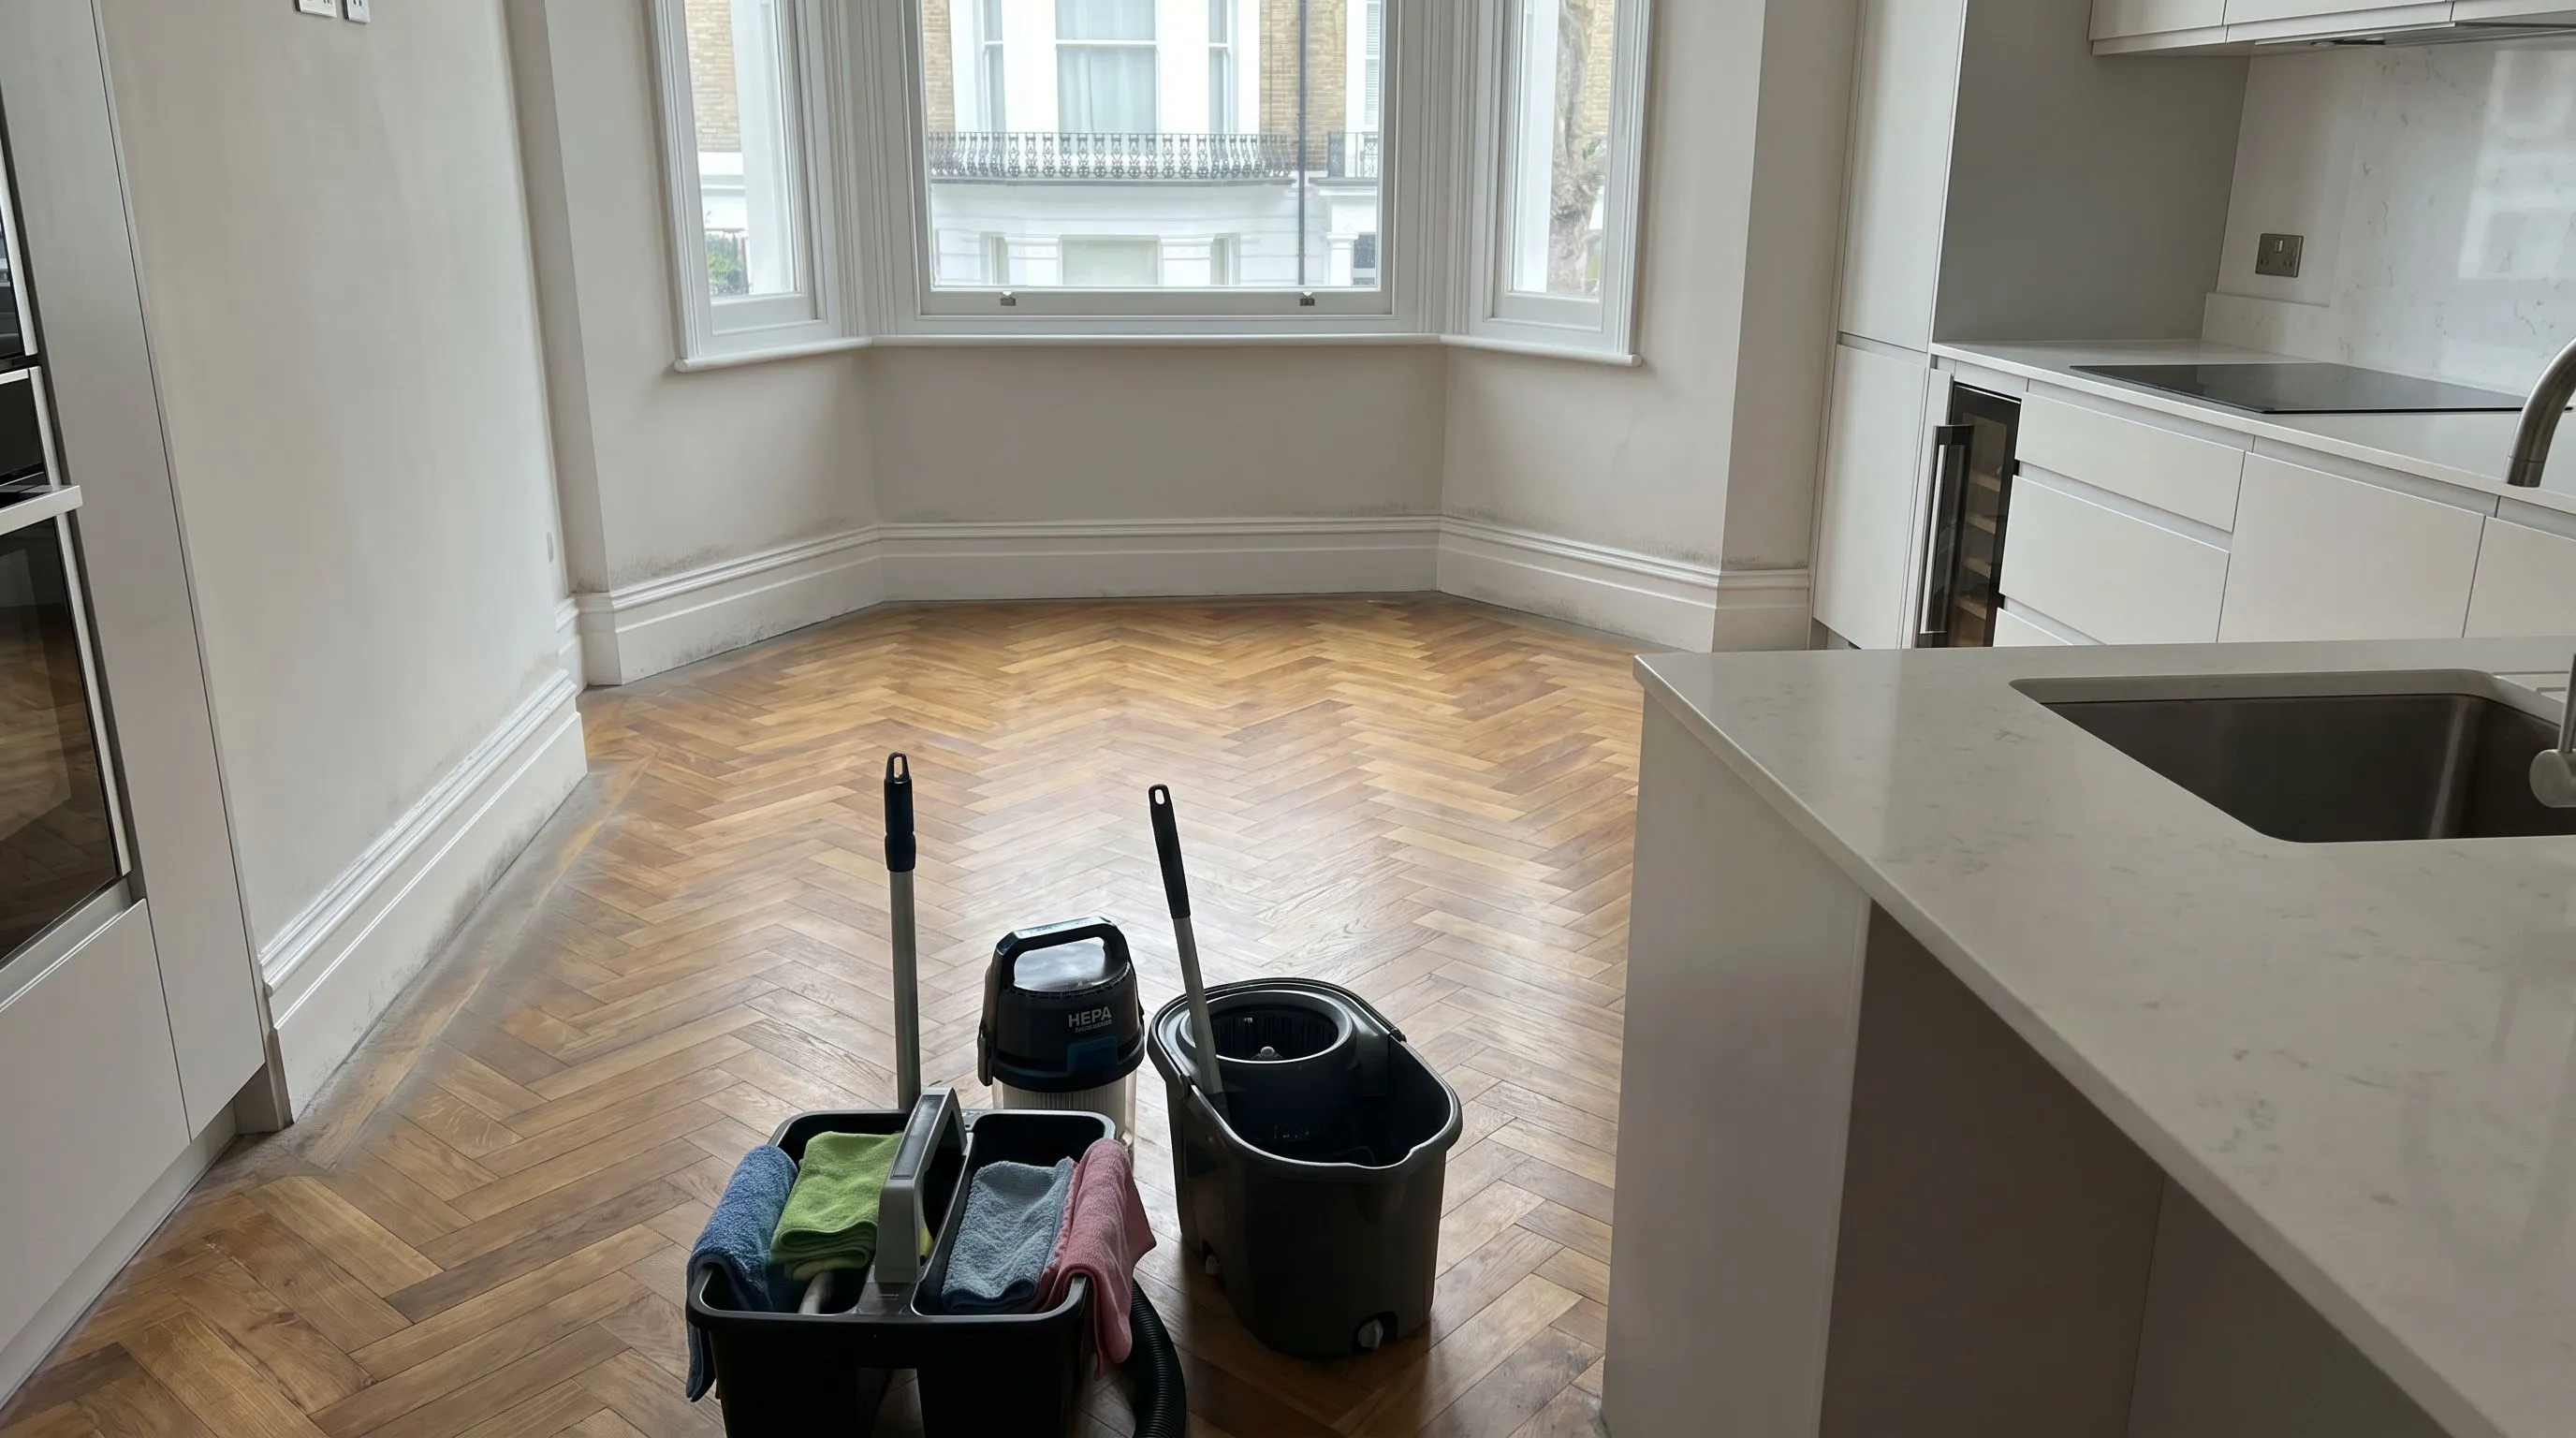
- Two buckets for mopping: one with the cleaning solution, one with clean water for rinsing the mop.
- A flat microfibre mop and a plastic scraper for paint and plaster spots.
- A radiator brush or the vacuum's crevice tool, and a long-handled flat duster for behind radiators.
- Rubble sacks for debris and a roll of masking tape for sealing off finished rooms.
Do not use:
- Your household vacuum. Fine plaster dust passes straight through the filter and out of the exhaust, and it will burn out the motor. We see a ruined Dyson on most DIY jobs.
- A broom. Dry sweeping is banned on commercial sites for a reason. It puts silica straight into the air you are breathing.
- Feather dusters. They redistribute dust, they do not collect it.
- A steam mop on fresh plaster, new paint or unsealed timber.
- Bleach or acidic cleaners on natural stone, and abrasive pads on anything new.
The Order That Works
Top to bottom, dry before wet, rough before fine. Here is the sequence, room by room.
1. Wait, then ventilate carefully
Give it 24 to 48 hours after the last plasterer, sander or tiler leaves. Open windows in the rooms you are cleaning, but keep internal doors shut so you are not blowing dust into clean rooms.
2. Clear the debris
Bag offcuts, packaging, tape and dust sheets before you touch a surface. Do not drag anything across new floors.
3. Dry pass from the top
With the vacuum's soft brush head, work the ceiling, coving, light fittings, tops of doors and frames, curtain poles, picture rails and the tops of wardrobes and kitchen units. Then the walls, top to bottom, in overlapping strips.
Painted walls less than four weeks old should be vacuumed only. Do not wipe them yet.
4. Radiators, sockets and skirtings
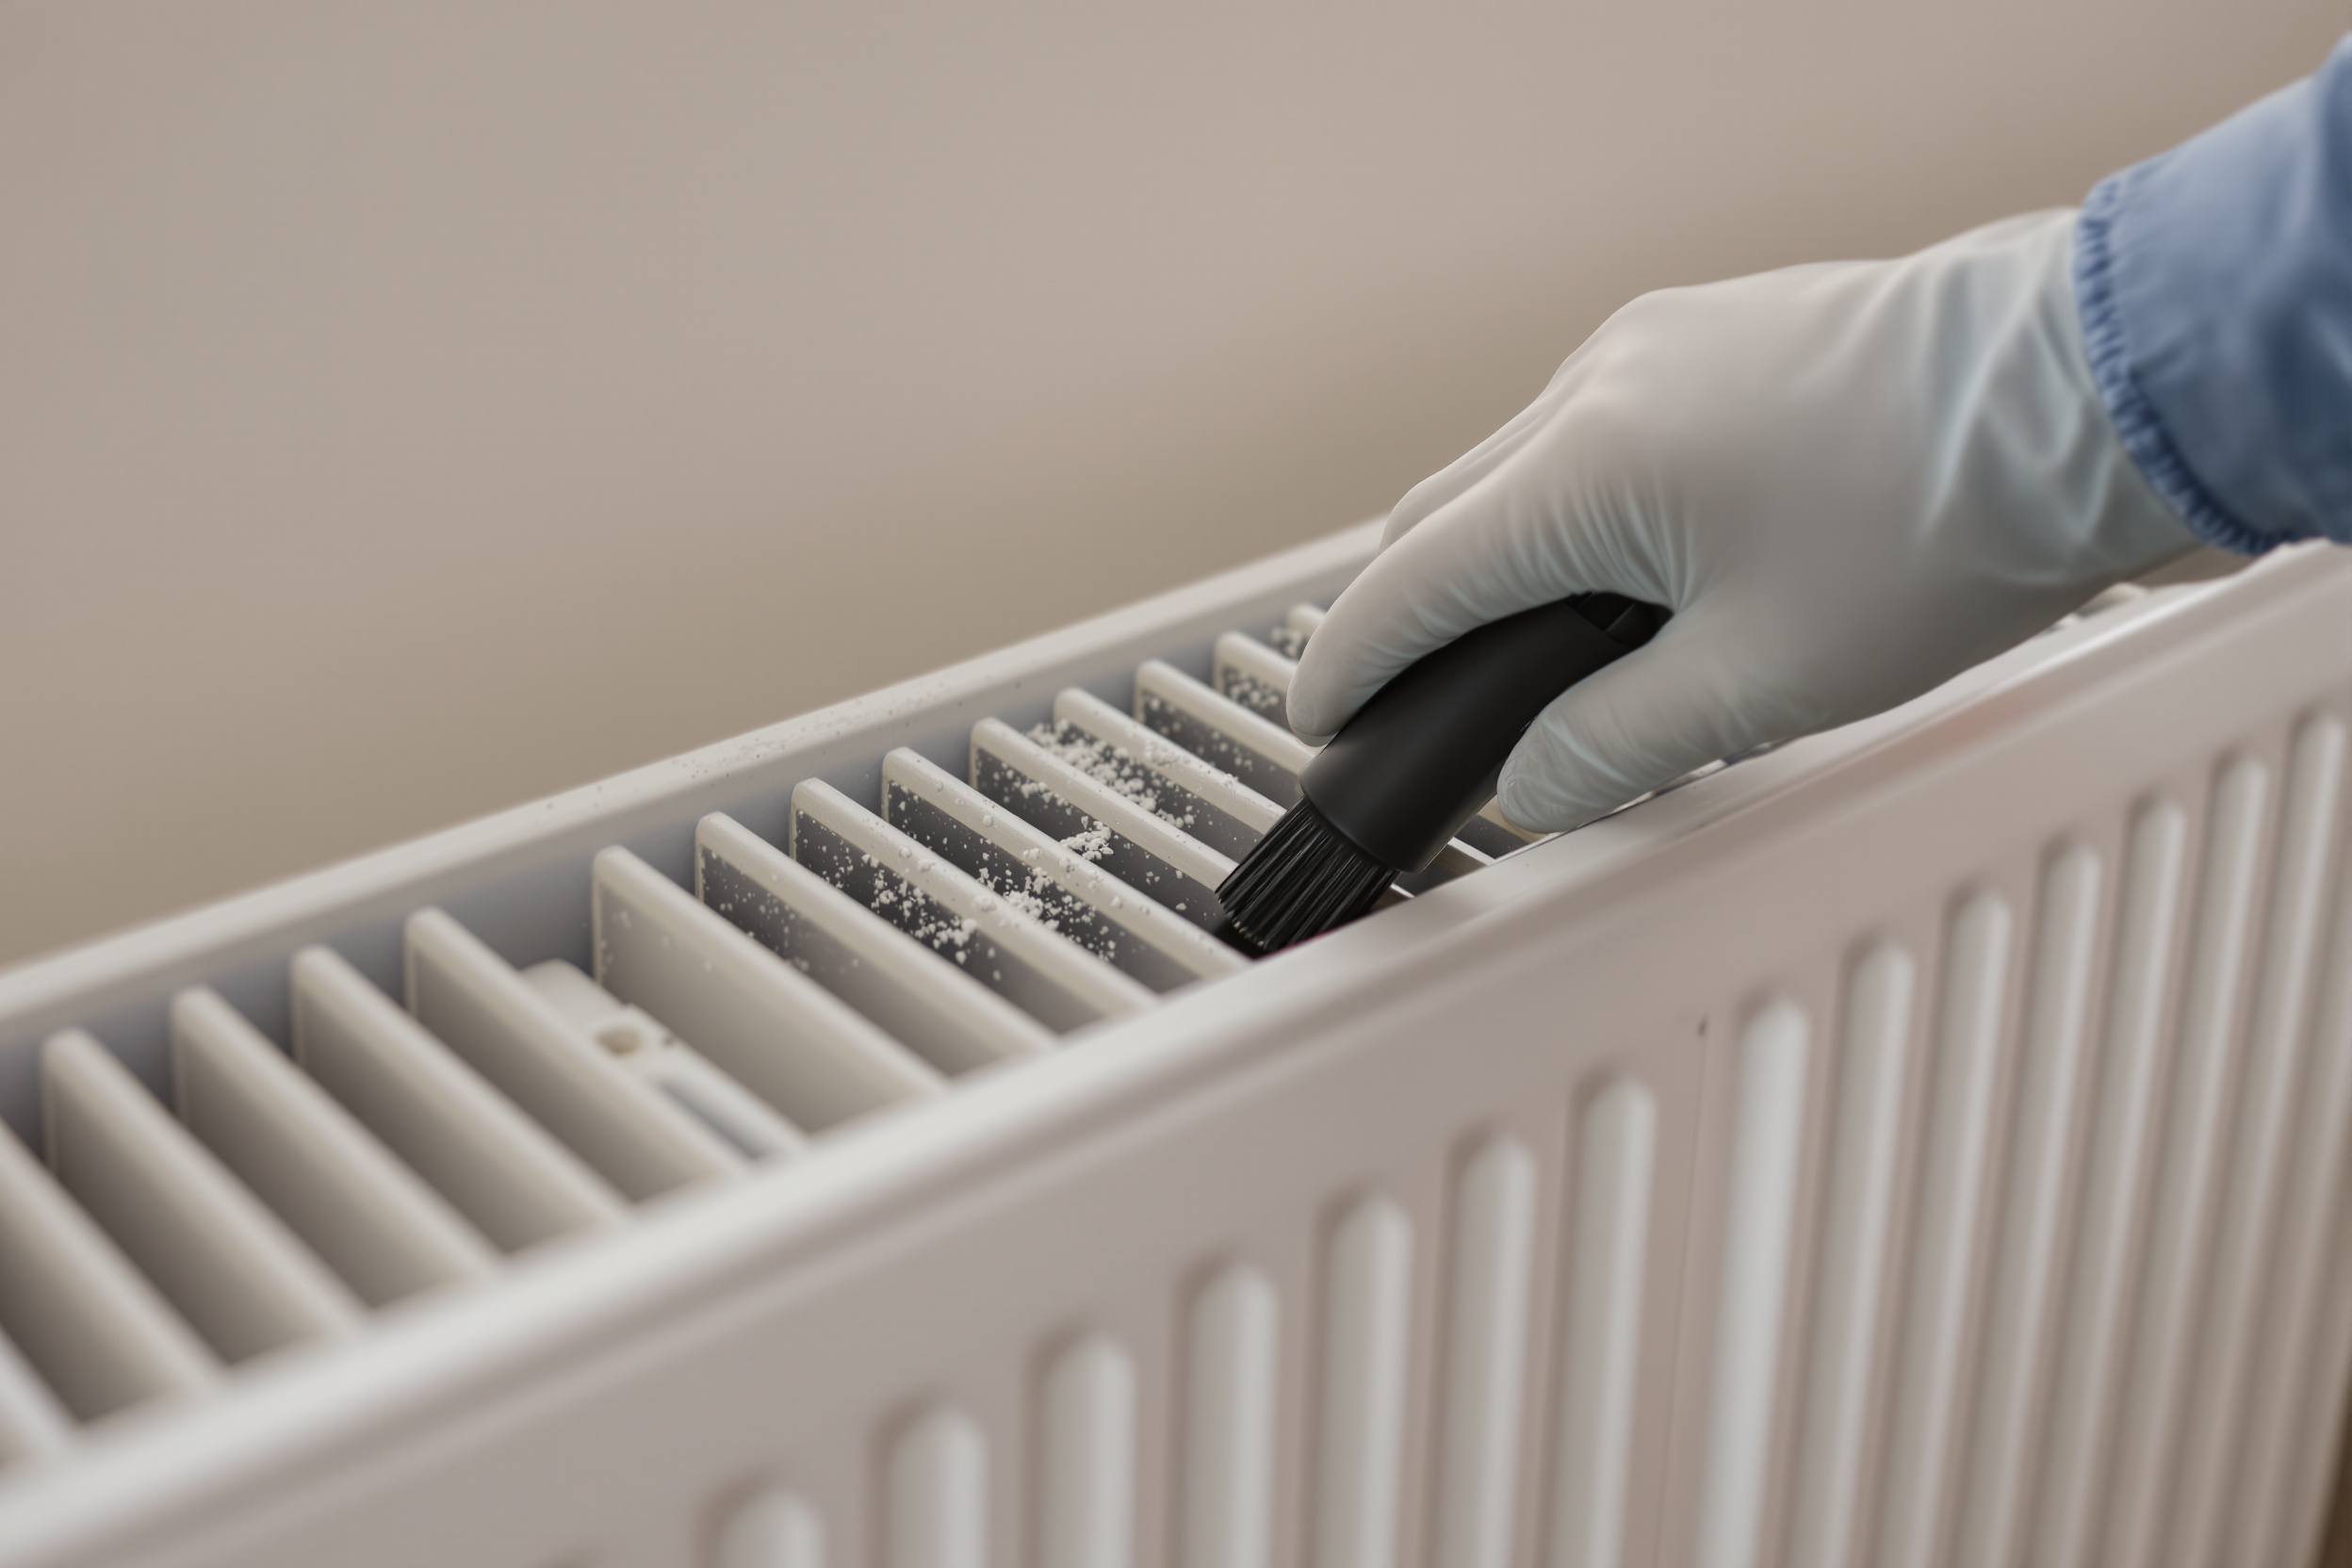
Crevice tool between every radiator fin, then the flat duster behind. Vacuum around every socket and switch plate. Vacuum the top edge and face of every skirting board.
5. Inside everything
Every cupboard, drawer, wardrobe and shelf. Vacuum first, then wipe with a damp cloth. Do this before anything goes back in, or you will be living with the dust for years.
6. Glass, frames and tracks
Vacuum the frames, sills and tracks, including the trickle vents. Wet the glass before scraping any paint or plaster spot off it, and hold the scraper at a shallow angle. Dry scraping scratches.
7. Damp wipe
Now, and only now, go round with barely damp microfibre: doors, frames, sills, worktops, tiles, sanitaryware. Fold the cloth to a fresh face every few wipes and rinse it often. If it starts leaving streaks, it is full. Change it.
8. Soft furnishings
Vacuum sofas, mattresses and curtains slowly, twice. Wash anything with a removable cover.
9. Floors last
Vacuum thoroughly, edges and corners included. Then damp mop with the two-bucket method, changing the rinse water the moment it clouds. Expect to mop hard floors twice. Carpets get a second slow vacuum in the opposite direction.
10. Second pass at 48 hours
Repeat steps 3, 4, 7 and 9 as a lighter pass. This catches everything that was still airborne during the first clean. It takes about a third of the time.
11. Third pass at one to two weeks
Once the heating has been on and the house has been lived in, do a final light pass on flat surfaces, radiators and floors. After this the dust should stop returning.
Getting Dust Out of the Air
Surfaces are only half the problem. The dust you can see in a sunbeam is the dust that is going to land on the surface you just cleaned.
- Run the heating for an hour before your second pass. It pulls dust out of the radiators and convects it into the room, where it settles and can be removed, rather than surprising you a week later.
- Clean or replace extractor fan filters and grilles in the kitchen and bathrooms, and if the house has a mechanical ventilation system, change its filters.
- A HEPA air purifier running in the room you are cleaning makes a real difference to how much resettles. Professional teams use air scrubbers for the same reason.
- Keep the doors shut between finished and unfinished rooms. Masking tape round a door works for a day.
Mistakes That Make It Worse
We get called in to fix a lot of DIY cleans, and it is almost always one of these.
| Mistake | What happens |
|---|---|
| Wet wiping before vacuuming | Plaster paste smeared into paint, grout and timber grain. Much harder to remove than the dry dust was. |
| Cleaning before the last dusty trade | The sander comes back on Tuesday and you start again. |
| Using the household vacuum | Dust blown back into the room, and a burnt-out motor. |
| Mopping from one bucket | You are painting the floor with dirty water. |
| Refilling cupboards before cleaning them | The dust is now behind your crockery for the life of the kitchen. |
| Doing it in one pass | The house looks clean for 24 hours, then the reservoirs empty onto it. |
| Dry wiping new glass or stone | Micro-scratches from the grit that catch the light forever. |
Is Builders Dust Bad for You?
Yes. Dust from concrete, mortar, brick and tile contains respirable crystalline silica, which the Health and Safety Executive treats as a serious occupational lung hazard, and wood and MDF dust are both classed as harmful. A one-off clean is a far lower exposure than a career on site, but it is not nothing.
Wear an FFP3 mask whenever you are disturbing dust, keep children and anyone with asthma out of the rooms until the first two passes are done, and never dry sweep. We have written about the health side in more depth in our guide to the hidden dangers of construction dust.
When to Stop and Call Someone
Honestly, a single room that has been painted or had a carpet changed is a DIY job. Follow the order above and you will be fine.
Stop and get a quote if any of these apply:
- The whole house was plastered, or there was a basement dig, loft conversion or extension.
- Carpets were down during the works.
- There are stone floors, marble, brass, polished plaster or bespoke joinery to protect.
- You need the house habitable by a fixed date.
- Someone in the household has asthma or is pregnant, or there are babies in the house.
What a professional team brings is not a magic product. It is H-class extraction that actually captures silica, air scrubbers, three or four people doing in a day what takes one person three weekends, and the experience to know which product is safe on which surface. We have set out the honest comparison, including the hidden costs of doing it yourself, in our DIY vs professional guide, and typical prices in our after builders cleaning cost guide.
FAQs
How long does it take for construction dust to go away?
The bulk of airborne dust settles within 24 to 48 hours of the last dusty trade finishing. After that, dust stored in radiators, ducts, carpets and floor gaps keeps resurfacing for one to two weeks as the house is used and the heating comes on. Three cleaning passes over that fortnight is normal after major works.
What is the best way to remove construction dust from my home?
Work top to bottom, dry before wet. Vacuum every surface with a HEPA-filtered vacuum first, including walls, radiators and inside cupboards, then damp wipe with microfibre, then vacuum and mop floors last. Repeat after 48 hours. Never dry sweep and never use a domestic vacuum.
Can I mop builders dust straight away?
No. Wet plaster dust turns to a paste that smears across the floor and sets into grout lines and timber gaps. Vacuum the floor thoroughly first, then damp mop with two buckets, one for cleaning solution and one for rinsing, and change the water often.
How do I get builders dust out of carpets?
HEPA vacuum slowly in two directions, empty the vacuum, and repeat 48 hours later. Fine dust sits deep in the pile and comes up a layer at a time. If the carpet was down during plastering or sanding, a professional hot water extraction clean after the vacuuming is the only way to get it all out.
Is builders dust bad for you?
Yes. Dust from concrete, mortar, brick and some plasters contains respirable crystalline silica, which the HSE classes as a serious lung hazard. Wood and MDF dust is also harmful. Wear an FFP3 mask when disturbing it, keep children and anyone with asthma out of the rooms until the first two passes are done, and never dry sweep.
Rather Not?
If the list above has convinced you that three weekends with a hired vacuum is not how you want to start life in the new kitchen, send us a few photos and your dates. We will tell you whether it is a one-visit job or a builders clean plus a sparkle clean, and quote accordingly.
We cover all of London, including Clapham, Wandsworth, Hampstead and Kensington. Request a free quote or call 0208 058 2037.