The Ultimate After Builders Cleaning Checklist: Room-by-Room Guide
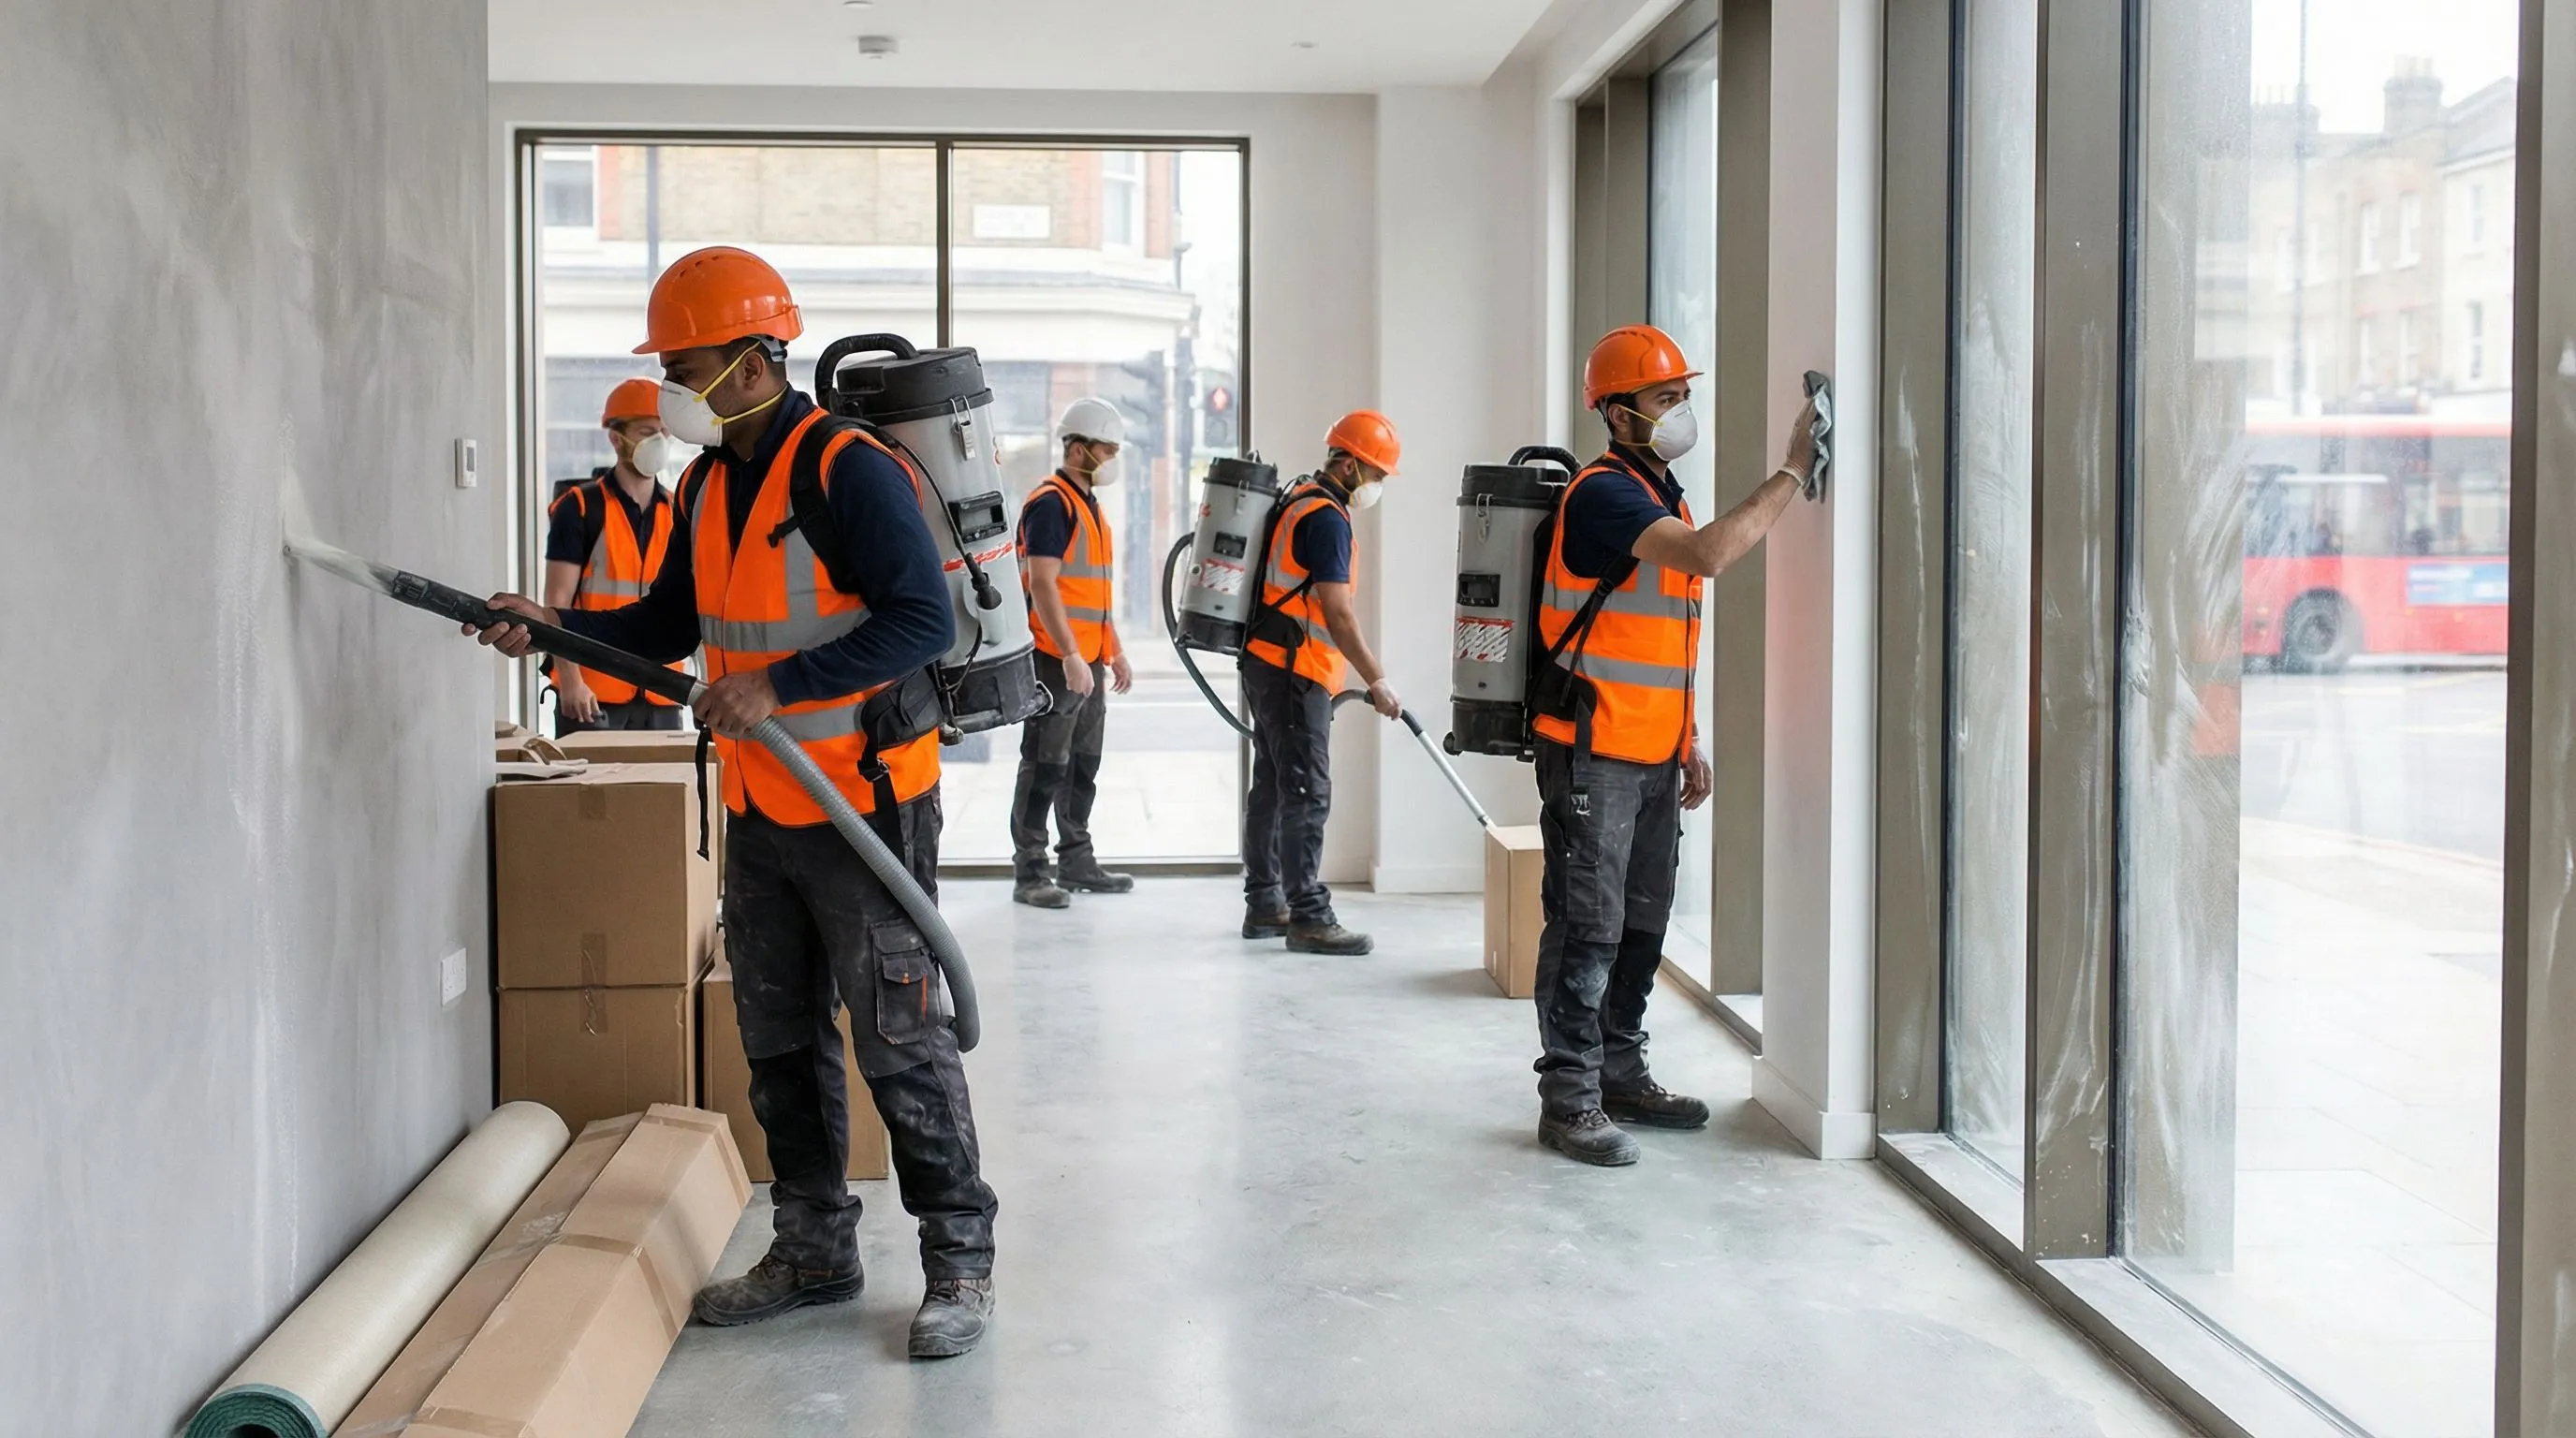
Construction dust is not normal dust. That's the first thing people get wrong.
Regular household dust is mostly dead skin cells and fabric fibres. Construction dust is powdered concrete, silica, plaster, brick, and wood — particles so fine they hang in the air for hours and settle into every crack, hinge, and crevice in your property. Left untreated, it can scratch new worktops, clog appliance filters, damage soft furnishings, and — in the case of silica dust — pose a genuine health risk.
Whether you've had a full renovation in Kensington, a kitchen refit in Islington, or an extension built in Wandsworth, you need a proper plan of attack. A damp cloth and a Dyson won't cut it.
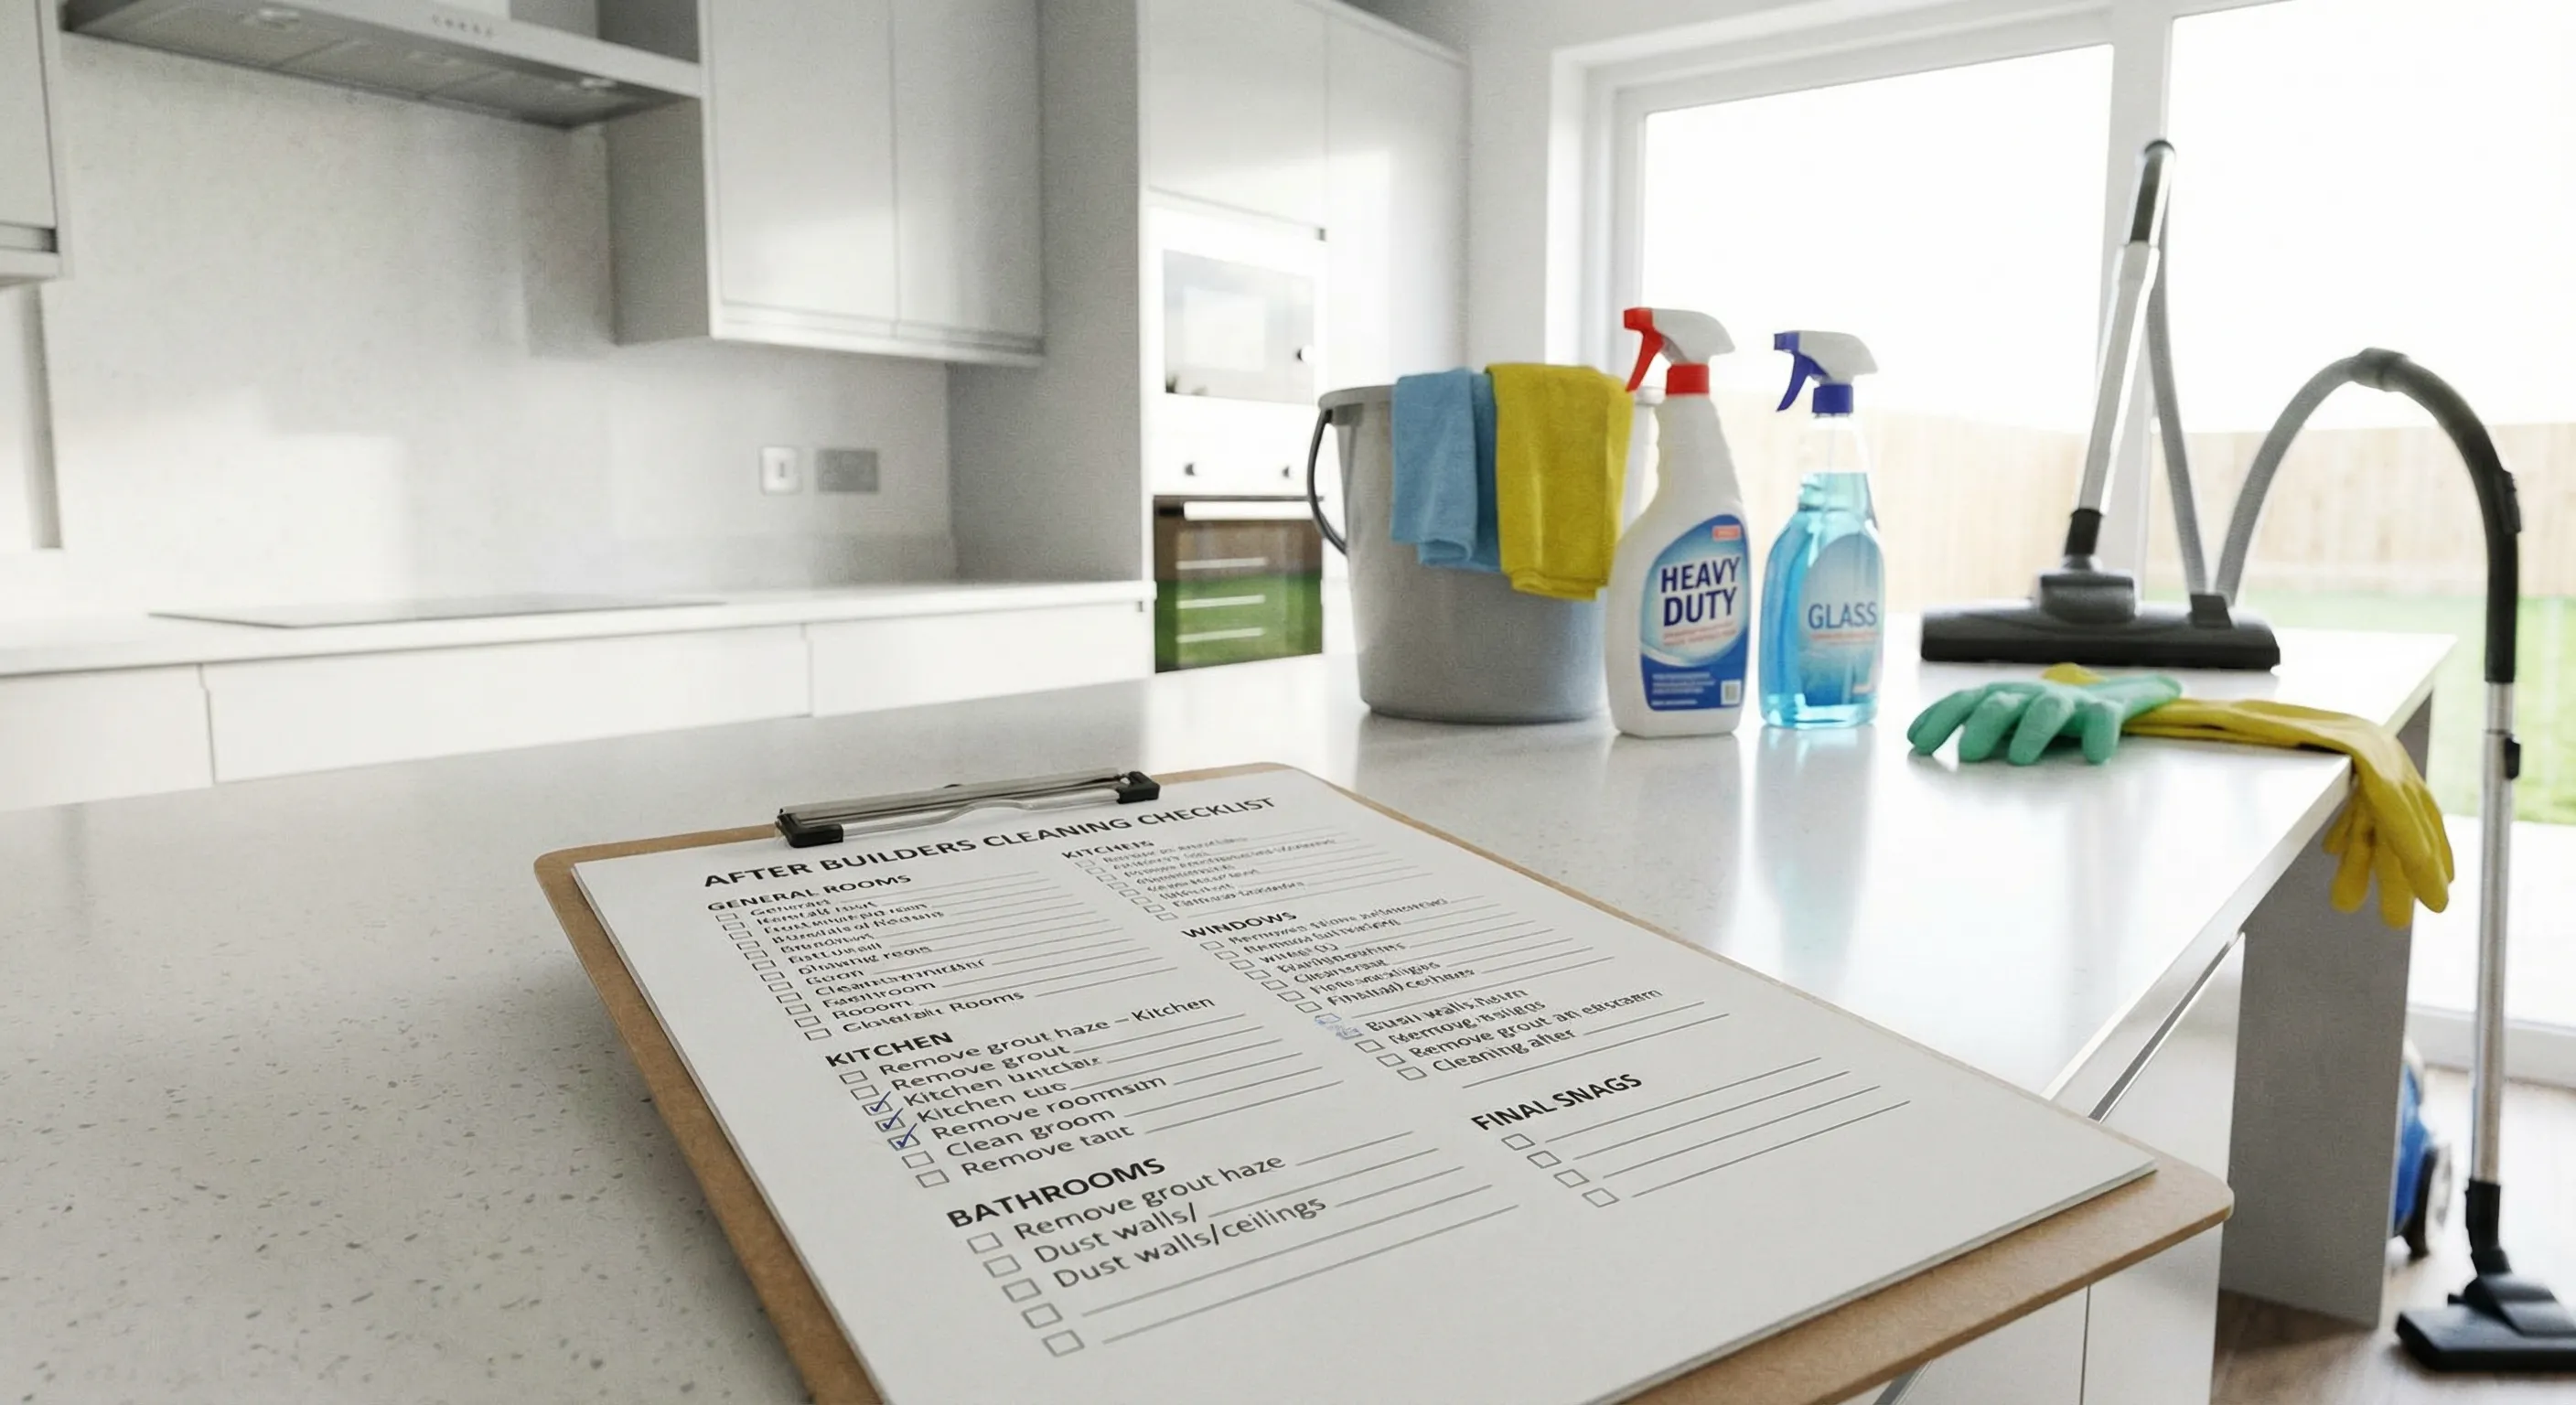
This is the room-by-room checklist we use on every job. It's the same process whether we're cleaning a one-bed flat after a bathroom refit or a six-bed townhouse after a complete gut-and-refurb.

Table of Contents
- Before You Start
- Kitchen Checklist
- Bathroom Checklist
- Living Areas and Bedrooms
- Hallways and Stairs
- Windows Throughout
- External Areas
- Common Mistakes to Avoid
- DIY vs Professional Cleaning
- When to Schedule Your Clean
- Need a Hand?
Before You Start
Don't just dive in. Construction dust — particularly from plaster, concrete, and brick — contains crystalline silica. Breathing it in is no joke. The Health and Safety Executive classifies it as a serious occupational hazard.
Here's what you need before touching anything:
| Preparation | Why It Matters |
|---|---|
| FFP2/FFP3 dust mask | Standard paper masks won't filter fine silica particles |
| Safety goggles | Dust irritates eyes badly when disturbed |
| Rubber gloves | Plaster and cement residue dries out and cracks skin |
| Open all windows | Ventilation clears airborne particles as you work |
| Wait 24-48 hours | Let the finest dust settle before disturbing it |
| Protect finished surfaces | Cover anything you've already cleaned with dust sheets |
| Work top to bottom | Dust falls — clean ceilings and high surfaces first |
| HEPA filter vacuum | Standard vacuums blow fine dust straight back into the air |
Kitchen Checklist
Kitchens take the longest, especially after a full refit. New units, appliances still wrapped in film, and grout haze on fresh tiles all need attention.
| Task | Details | Check |
|---|---|---|
| Units — external | Wipe down all doors, drawer fronts, and handles. Check tops of wall units where dust collects | ☐ |
| Units — internal | Every shelf, drawer, and cupboard interior. Dust gets inside even closed units | ☐ |
| Worktops | Clean with appropriate product for the material (stone, laminate, wood all need different care) | ☐ |
| Splashbacks and tiles | Remove grout haze, adhesive residue, and plaster splashes | ☐ |
| Sink and taps | Polish chrome, remove any plaster or paint spots | ☐ |
| Appliances — external | Oven, hob, fridge, dishwasher, microwave — wipe down all surfaces | ☐ |
| Appliances — internal | Inside the oven, fridge, and dishwasher. Construction dust gets everywhere | ☐ |
| Extractor fan and hood | Remove filters if possible, clean inside the hood, wipe external surfaces | ☐ |
| Protective film | Remove all manufacturer film from appliances, units, and worktops | ☐ |
| Kickboards | Pull off and clean behind if accessible | ☐ |
| Floor | Vacuum then mop. Multiple passes for tile floors with grout dust | ☐ |
| Light fittings | Wipe down pendants, spotlights, and under-cabinet lighting | ☐ |
Bathroom Checklist
Bathrooms after building work are a particular challenge. Grout haze on new tiles, plaster dust on chrome fittings, and cement residue in shower trays all need specialist attention.
| Task | Details | Check |
|---|---|---|
| Toilet | Clean inside and out, base, behind, and around fixings | ☐ |
| Basin and pedestal | Clean bowl, taps, waste, and any pedestal or vanity unit | ☐ |
| Bath | Clean interior and exterior, taps, overflow, panel | ☐ |
| Shower enclosure | Glass screens, frame, tray, head, hose, and controls | ☐ |
| Tiles — walls | Remove grout haze and plaster residue from all tiled areas | ☐ |
| Tiles — floor | Vacuum then mop, paying attention to grout lines | ☐ |
| Grout lines | Scrub grout to remove construction residue and haze | ☐ |
| Chrome and brassware | Polish all taps, towel rails, and accessories | ☐ |
| Mirrors | Clean and polish, remove any paint or plaster spots | ☐ |
| Extractor fan | Remove cover and clean inside | ☐ |
| Sealant lines | Check silicone sealant is clean and free of residue | ☐ |
| Heated towel rail | Clean between all bars | ☐ |
Living Areas and Bedrooms
These rooms often look deceptively clean after builders leave. The dust is there — it's just settled into places you won't spot until sunlight hits at the right angle.
| Task | Details | Check |
|---|---|---|
| Walls | Wipe down or vacuum all walls, especially around new plasterwork | ☐ |
| Ceilings | Dust or vacuum, checking corners and around light fittings | ☐ |
| Skirting boards | Top edge and front face — dust loves sitting on these | ☐ |
| Architraves and door frames | Wipe all surfaces including the top edge | ☐ |
| Doors | Both sides, top edge, and handles | ☐ |
| Light fittings and switches | Wipe down carefully, including inside shades and around switch plates | ☐ |
| Radiators | Inside fins (where dust collects most), front panel, behind if accessible | ☐ |
| Plug sockets | Wipe around plates and check for dust in gaps | ☐ |
| Window sills | Inside and behind curtain poles or blinds | ☐ |
| Carpets | HEPA vacuum thoroughly — at least two passes in different directions | ☐ |
| Hard floors | Vacuum then damp mop. Avoid excess water on new wood floors | ☐ |
| Fitted wardrobes | Inside all shelves, drawers, hanging rails, and on top | ☐ |
| Fireplace and surround | Clean mantel, hearth, and inside the opening if accessible | ☐ |
| Curtain poles and tracks | Remove dust from rails, brackets, and finials | ☐ |
Hallways and Stairs
The most trafficked area during any building project. Builders walk through here dozens of times a day, tracking dust, plaster, and debris. It needs serious attention.
| Task | Details | Check |
|---|---|---|
| Staircase treads | Vacuum and clean each tread individually, including nosings | ☐ |
| Staircase risers | Wipe or vacuum the vertical faces | ☐ |
| Banisters and handrails | Clean all spindles, newel posts, and the handrail itself | ☐ |
| Under-stair cupboard | Empty, vacuum, and wipe down inside | ☐ |
| Hallway floor | Vacuum and mop — this area usually needs multiple passes | ☐ |
| Front door | Inside and out, including letterbox, handle, and frame | ☐ |
| Coat hooks and storage | Wipe down any hooks, shelves, or shoe storage | ☐ |
| Radiators | Full clean including behind and between fins | ☐ |
| Dado rails and picture rails | Top edges collect significant dust | ☐ |
| Light fittings | Ceiling lights, wall lights, and any landing fittings | ☐ |
Windows Throughout
Windows are one of the most time-consuming parts of an after builders clean. Paint spots, plaster splashes, label residue on new glass, and dust in every part of the frame.
| Task | Details | Check |
|---|---|---|
| Glass — internal | Clean all panes, removing spots and smears | ☐ |
| Glass — external | Clean outside panes where accessible | ☐ |
| Paint spot removal | Carefully scrape or dissolve paint splashes without scratching glass | ☐ |
| Label and sticker removal | Remove manufacturer labels and adhesive residue from new glazing | ☐ |
| Frames — internal | Wipe down all frame surfaces | ☐ |
| Sills — internal | Clean and polish window sills | ☐ |
| Tracks and channels | Vacuum out debris from sliding tracks and drainage channels | ☐ |
| Handles and locks | Clean and polish all window furniture | ☐ |
| Ventilation trickle vents | Open and clean inside — dust blocks these easily | ☐ |
External Areas
If your building work involved an extension, loft conversion with scaffolding, or any external work, the outside needs attention too.
| Task | Details | Check |
|---|---|---|
| Patio and paths | Sweep or pressure-wash cement, plaster, and mortar splashes | ☐ |
| Front entrance | Sweep steps, clean door surround, remove any builder debris | ☐ |
| Drains and gullies | Check for blockages from building materials | ☐ |
| Garden areas | Remove any rubble, offcuts, or packaging left by trades | ☐ |
| Exterior walls | Check for mortar splashes or render marks near the work area | ☐ |
| Bins and storage areas | Clear any construction waste from bin areas | ☐ |
Common Mistakes to Avoid
We see the same mistakes time and again. People spend hours cleaning and then wonder why the dust is back the next day, or worse, they damage brand new surfaces.
| Mistake | What to Do Instead |
|---|---|
| Using a standard vacuum without a HEPA filter | Fine construction dust passes straight through regular filters and back into the air. Use a vacuum with a HEPA filter or hire an industrial one |
| Cleaning windows in direct sunlight | Cleaning solution dries before you can wipe it, leaving streaks. Clean windows when they're in shade |
| Using abrasive products on new surfaces | New worktops, tiles, and sanitaryware scratch easily. Use non-abrasive cleaners and soft microfibre cloths |
| Doing only one pass | Construction dust needs multiple passes. You'll think a surface is clean, then see dust again the next day as it resettles |
| Starting from the bottom | Dust falls. If you clean floors first and then do walls and ceilings, you're doing floors twice |
| Ignoring inside cupboards and units | Even closed cupboards collect construction dust. Open every door and drawer |
| Rushing the job | A proper after builders clean takes time. A 3-bed house after a full renovation needs 8-12 hours, not a quick afternoon |
| Using too much water on new floors | Newly laid wood and laminate floors can swell or warp with excess water. Damp mop only |
DIY vs Professional Cleaning
Some jobs you can handle yourself. Others genuinely need a professional team with industrial kit. Here's where the line falls:
| Scenario | DIY | Professional |
|---|---|---|
| Small painting job (one or two rooms) | Perfectly manageable with basic supplies | Not necessary |
| Bathroom refit | Possible if you have the right products for grout haze and chrome | Recommended — new fittings are easy to damage |
| Kitchen refit | Time-consuming but doable for straightforward kitchens | Worth it for high-end finishes or complex layouts |
| Full renovation | Very difficult to do properly without industrial equipment | Strongly recommended |
| New build or extension | Almost impossible to manage the volume of dust yourself | Essential — this is heavy-duty work |
| High-end or period property | Risk of damaging specialist finishes is high | Essential — needs experienced hands and specialist products |
The honest assessment: if your building project lasted more than a couple of weeks, involved structural work, or included high-value finishes, a professional clean will save you time, effort, and potentially costly damage.
When to Schedule Your Clean
Timing matters more than people realise. Clean too early and the last few trades will undo your work. Clean too late and dust bonds to surfaces and becomes harder to remove.
| Stage | What's Happening | Cleaning Action |
|---|---|---|
| Building work completes | Last trades finishing up | No cleaning yet — let dust settle |
| 24-48 hours after completion | Fine dust has settled on surfaces | Rough clean: remove debris, initial vacuum of heavy dust |
| Snagging period | You and your builder walk through for defects | Main clean: full room-by-room checklist — ideally before snagging so defects are visible |
| After snagging fixes | Builder returns to fix minor items | Touch-up clean of affected areas only |
| 48 hours after main clean | Residual airborne dust has resettled | Final pass: quick wipe of all surfaces, re-vacuum |
| Move-in or handover | Property ready for use | Final inspection — everything should be spotless |
The ideal window is to schedule your main clean between the builder finishing and the snagging walk-through. A clean property makes it far easier to spot defects and unfinished work. We work with clients across Chelsea, Battersea, and all London boroughs to time cleans around their project schedules.
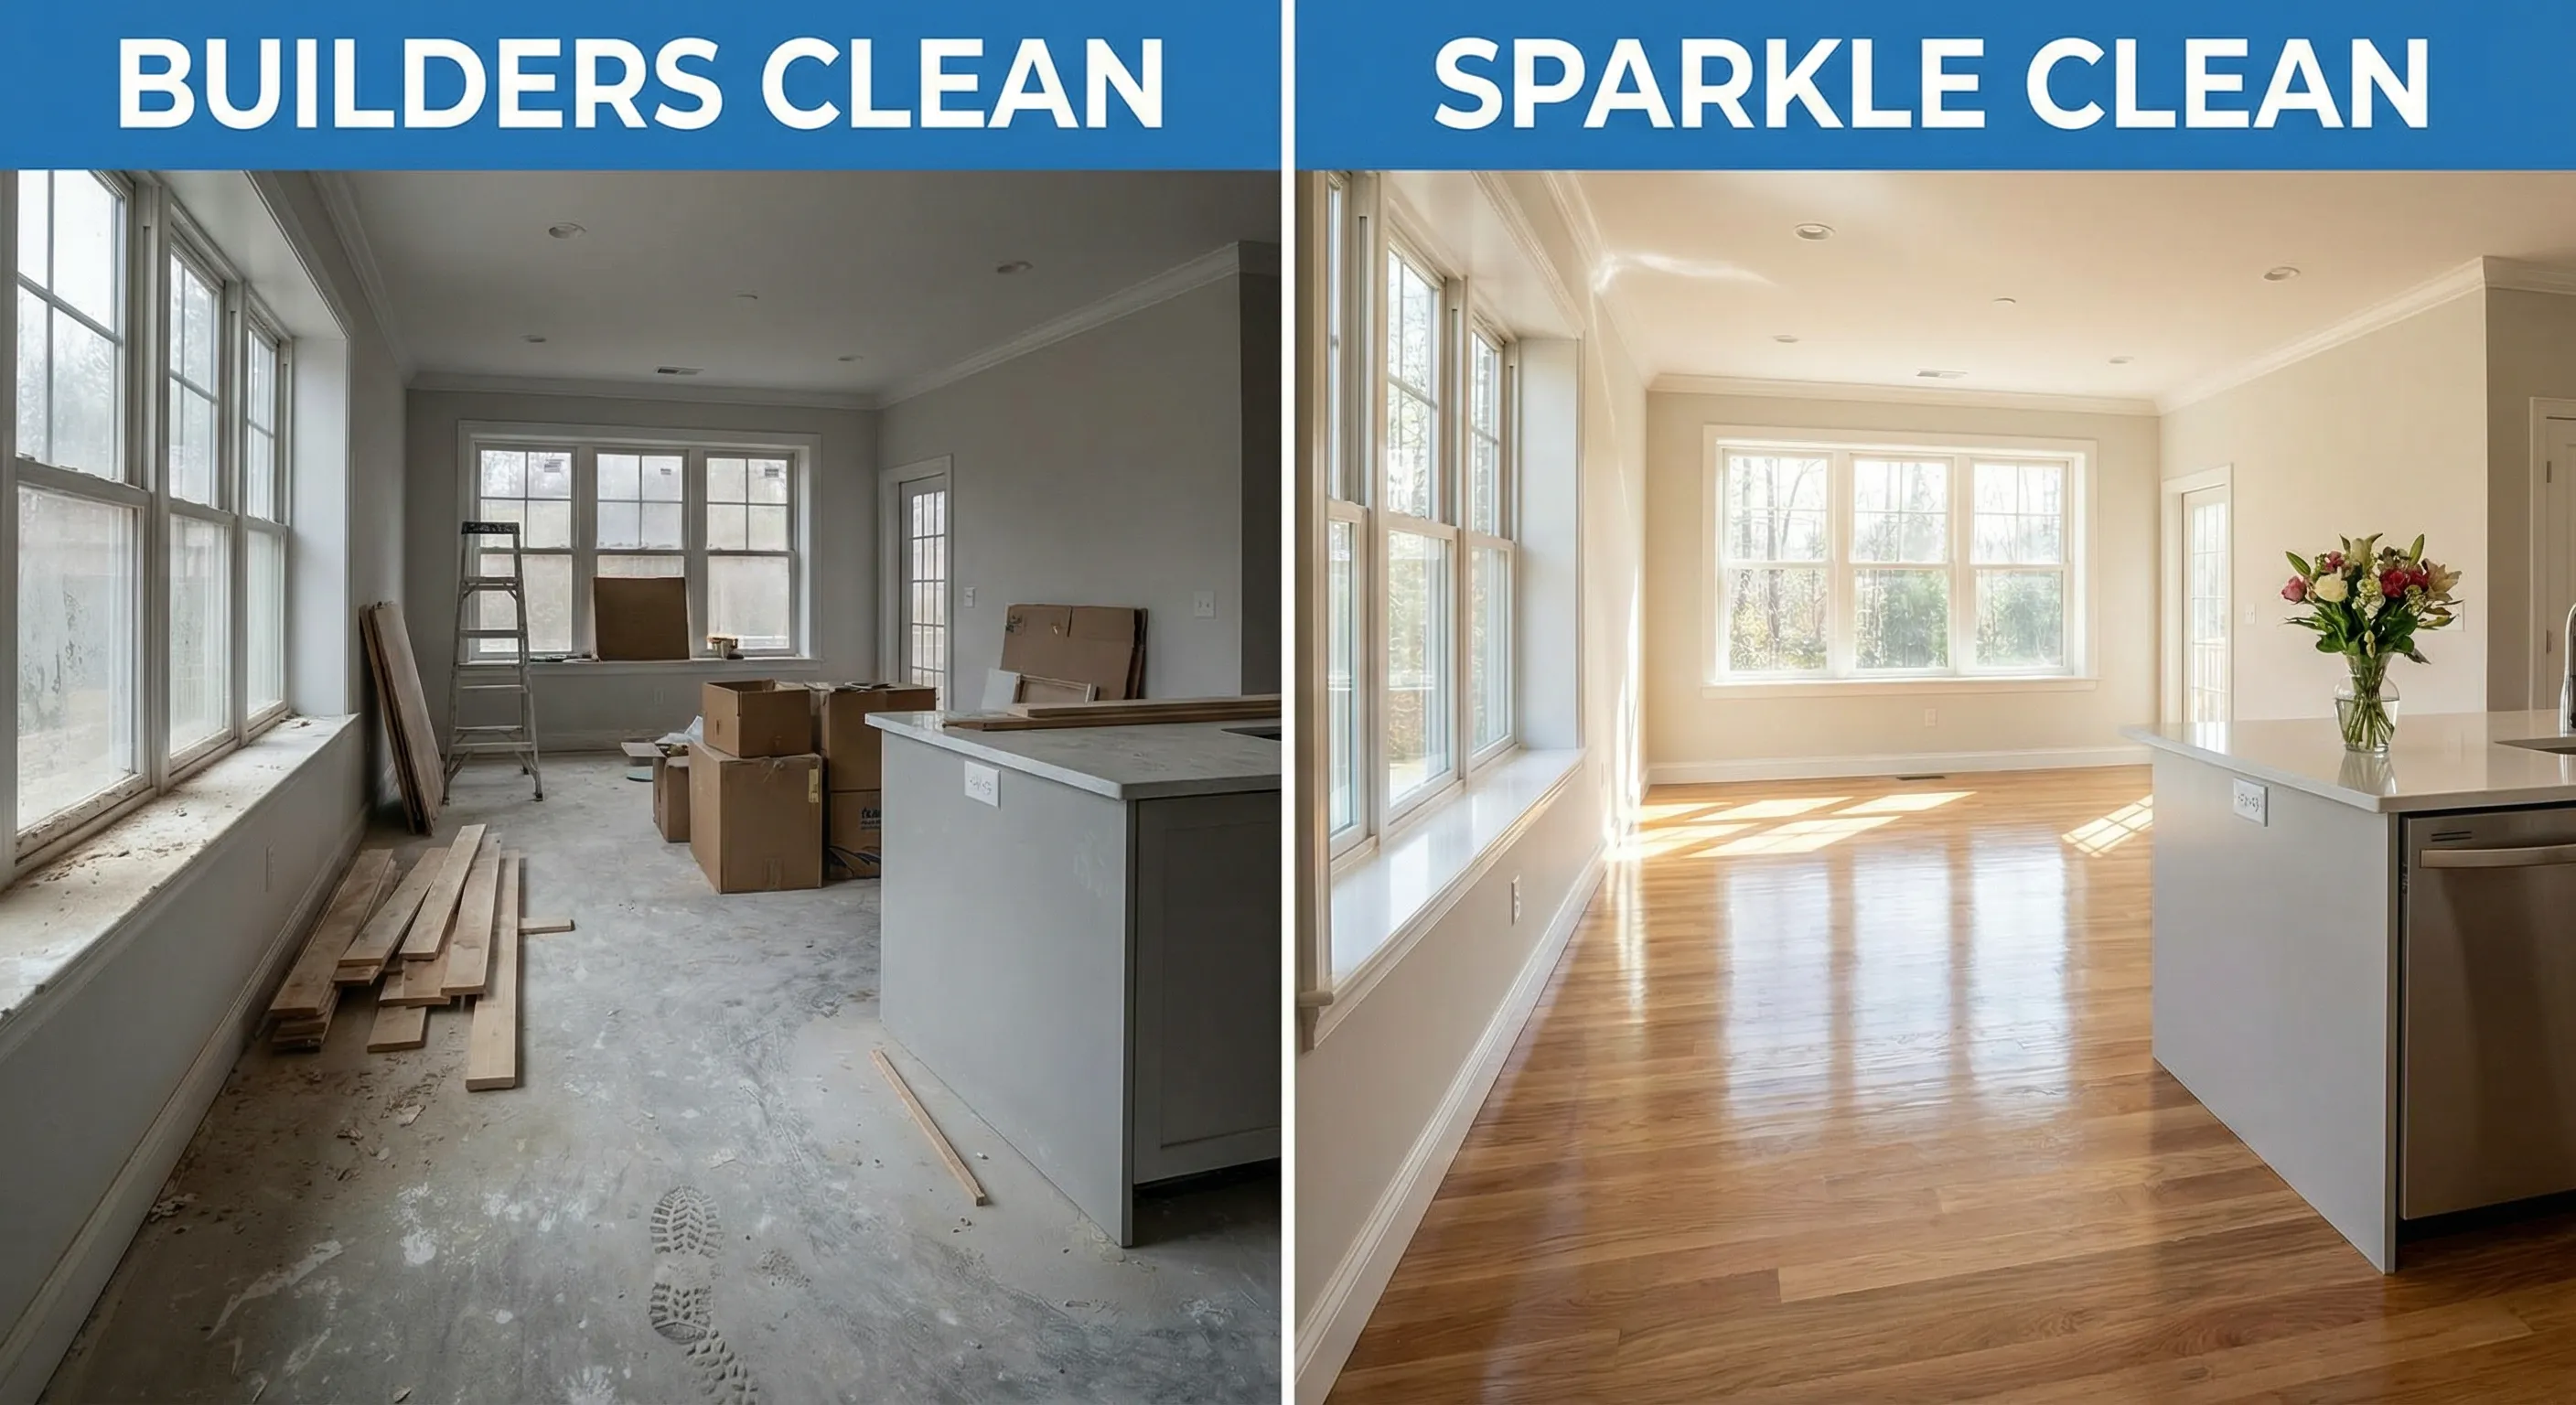
Not sure if you need a full builders clean or just a final polish? Check out our guide on Builders Clean vs Sparkle Clean to understand the difference.
Need a Hand?
This checklist works whether you're doing it yourself or briefing a cleaning team. But if looking at it has convinced you that life's too short — we get it.
We only do after builders cleaning London. It's the only service we offer, and it means our team deals with post-construction mess day in, day out. We know which products work on which surfaces, we bring all the industrial kit, and we won't leave until the job's done properly.
What you get from us:
| Free quotes | No obligation, tailored to your specific job |
| Fixed pricing | The price we quote is the price you pay |
| Fully insured | Public liability and employee cover |
| All kit included | Industrial HEPA vacuums, specialist products, everything |
| All of London | Every borough covered |
Give us a ring on 0208 058 2037 or request a free quote. We reply same day.
Last updated: March 2026